DIY TRAVEL MAP
see step-by-step video tutorialsMaterials to Buy
Choose Cartridges by Brand


How to DIY Your Own Stickers
Schritt 1: Designen und Drucken

Erstellen Sie Ihre gewünschten Designs am Computer. Nutzen Sie Plattformen wie Canva, Crello oder Adobe Spark, um Ihre Karten und Reisebilder zu gestalten. Drucken Sie die Karte auf das Ölmalpapier und die Reisebilder auf das Klebepapier.
Schritt 2: Ausschneiden und Aufkleben

Schneiden Sie die gedruckten Designs aus. Markieren Sie die Reisebilder und kleben Sie sie mit Pfeilen oder Flaggen auf die entsprechenden Orte der Karte. Bringen Sie alle Elemente auf der Acrylplatte an.
Schritt 3: Fertigstellen

Ihr personalisiertes Reise-Souvenir ist nun bereit, aufgehängt oder aufgestellt zu werden!
What To Expect From The
Kamo Creative Studio
Lerne durch Schritt-für-Schritt-Anleitungsvideos, ein DIY-Projekt selbstständig zu meistern.
Erhalte hochwertige DIY-Werkzeuge und Materialien von Kamo.
Lasse dich während des DIY-Prozesses inspirieren, kultiviere deine künstlerischen Fähigkeiten, stärke dein Gefühl der Erfüllung und vertiefe menschliche Bindungen.
Tritt unserem Kreativstudio bei und teile die Freude an der Kunst mit anderen.
Blog Posts

How to Clean Your Printer’s Print Head Effectively: A Practical Guide
In everyday home and office printing needs, maintaining optimal printer performance is crucial. Print head cleaning and maintenance are critical steps to ensure high-quality print output, especially for inkjet printers from brands such as Epson. This article explains when and how to clean your printer's printhead to ensure you continue to get clear, accurate prints.

When do I need to clean the print head?
Decreased print quality: If you notice that your printouts are blurry and have incorrect or missing colors, this could be a sign of a clogged nozzle.
Unusual printouts: If your printer seems to be working, but it's outputting a blank page, or the printout is chipped, black, or has other missing colors, this usually means the printhead needs to be cleaned.
Preparations before cleaning the print head:
Use the nozzle check tool: Before cleaning, use the nozzle check tool that comes with the printer to confirm whether cleaning is really needed. This can save ink.
Make sure you have enough ink: low ink levels may prevent effective cleaning, and when ink is depleted, cleaning may not be possible.
Prepare printing paper: The cleaning process will consume some ink, so please prepare several sheets of A4 plain paper.
How to clean the print head:
method one:
In Windows operating system, open the "Devices and Printers" or "Printers and Faxes" folder. Right-click your printer icon and select "Printing Preferences."

In the Printing Preferences window, click the Maintenance (or Tools) tab.

Click "Clean Printhead" to start the cleaning process, then click "Start" and wait for the first cleaning cycle to complete. During this process, be careful not to turn off the printer.

Method Two:
Access printer settings
On most printers, you can access the setup menu through the printer's display. If your printer does not have a display, you may need to use a computer connected to the printer to perform these steps.
Find cleaning options
In the printer's menu, find the options related to maintenance or cleaning. This is usually under the Settings, Tools or Maintenance menu.
Start cleaning process
Select "Clean Printhead" or a similar option to start the cleaning process. The printer will automatically start cleaning the print head. This process may take several minutes.


Inspection after cleaning:
Print a nozzle check pattern: After cleaning is completed, print a nozzle check pattern to confirm the effectiveness of the cleaning.
Further Action Required: If the nozzles check correctly but you are still having problems with the text, you may need to run the Printhead Alignment Tool. If you still have issues with print quality, you may need to clean it more than once (up to six times is recommended).
If the problem persists:
Turn the printer off for an extended period of time: If there are still problems with the nozzle check pattern, turn off the printer for at least six hours before checking again.
Replace the ink cartridge: If the problem still does not improve, it is recommended to install a new ink cartridge. If only a specific color is affected, simply replace the relevant cartridge.
Replace old ink cartridges: It is recommended to replace ink cartridges that have been opened for more than six months.
If the above steps don't resolve the issue:
If the above steps do not resolve your printing issue, we recommend contacting the printer manufacturer for further assistance. Professional technical support can provide more specific guidance and solutions.
Summarize
Regularly cleaning the printer's print head is an important step to maintain print quality and extend the service life of the printer.

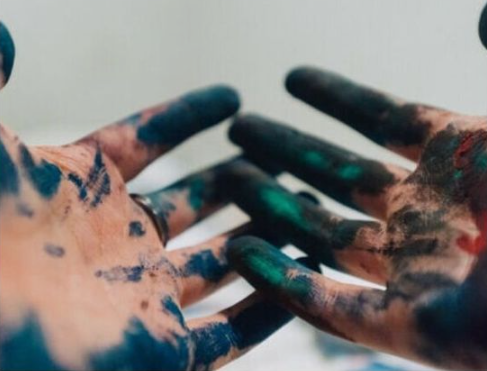
8 formas de quitarse el tóner o la tinta de las manos
Quitar el tóner o la tinta de las manos puede ser una tarea complicada, pero existen varios métodos eficaces que puedes probar. Aquí hay ocho formas de hacerlo:

1. Jabón y agua tibia: comience con la solución más simple. Utilice un jabón suave y agua tibia, frotándose las manos vigorosamente. Este método suele funcionar para manchas de tinta menos rebeldes.
2. Alcohol isopropílico o desinfectante para manos: estas soluciones a base de alcohol pueden descomponer la tinta. Aplicar una pequeña cantidad en la zona manchada y frotar antes de lavarse las manos con agua y jabón.
3. Quitaesmalte (acetona): La acetona es eficaz para eliminar la tinta, pero puede ser dura para la piel. Úselo con precaución, aplicando una pequeña cantidad con un algodón o un disco y luego lávese bien las manos.
4. Pasta de bicarbonato de sodio y agua: Haga una pasta con bicarbonato de sodio y agua, aplíquela en el área manchada y frote suavemente. Este abrasivo suave puede ayudar a quitar la tinta de la piel.
5. Aceite de oliva o aceite de cocina: Los aceites pueden ayudar a aflojar la tinta. Frote aceite en sus manos, déjelo reposar durante unos minutos y luego lávelo con agua y jabón.
6. Jugo de limón y sal: la acidez del jugo de limón y la abrasividad de la sal pueden trabajar juntas para eliminar la tinta. Aplique una mezcla de jugo de limón y sal sobre la mancha, frote suavemente y luego enjuague.
7. WD-40 u otros lubricantes: pueden ayudar a disolver la tinta. Rocía un poco en tus manos, frótalo y luego lávate las manos con agua y jabón. Úselo en un área bien ventilada.
8. Aceite de bebé o aceite mineral: similares a los aceites de cocina, pueden ayudar a aflojar la tinta. Aplicar, dejar reposar unos minutos y luego lavar con agua y jabón.
Recuerde, después de usar productos químicos como quitaesmalte o WD-40, es importante lavarse bien las manos con agua y jabón para eliminar cualquier residuo químico. Además, tenga cuidado con las alergias o sensibilidades de la piel al utilizar estos métodos.

Why won't the printer recognize the new ink cartridges
Introduction
Welcome to the perplexing yet fascinating world of printers, where a simple task like replacing an ink cartridge sometimes transforms into a technological conundrum. Picture this: you've just excitedly unwrapped a new ink cartridge, inserted it into your printer, and... nothing happens. The printer stubbornly refuses to acknowledge its presence. Frustrating, right? Let's demystify this common issue by delving into why this happens and how to resolve it.

Cartridge Compatibility
The first thing to check is whether the cartridge is compatible with your printer model. Even cartridges that look similar may not work if they're not designed for your specific printer.
Remove the protective strip
Unboxing a new ink cartridge reveals a protective plastic strip, a small yet crucial detail. Overlooking the removal of this strip is like forgetting the key in a lock; the printer simply won’t function. So, always ensure this protective guardian is removed before the cartridge makes its grand entrance into your printer.
Make sure the ink cartridge is inserted correctly
Another frequent hiccup occurs during the insertion process. It’s easy to miss the mark slightly, preventing the cartridge from snapping snugly into its designated home. Take a moment to reopen the printer, gently reposition the cartridge until you hear that satisfying click, signaling a successful installation.
Clean the contact chip
The cartridges have built-in metal contact ports that connect to corresponding contact ports in the printer. This feature enables communication and functionality between the two. If the metal contacts inside the printer are dirty or damaged, there's a good chance it won't be able to read the cartridge. You can use a lint-free cloth or cotton swab to clean the cartridge contacts:
- Turn off the printer and unplug it.
- Carefully remove the cartridge and place it on a flat surface.
- Identify the metal contacts on the ink cartridge.
- Identify the connection points inside the printer.
- Gently wipe the metal contacts with a dry, lint-free cloth or cotton swab to remove any dirt, dust, or residue.
- Do this for the printer's contact points.
- Place the ink cartridge back into the printer.
- Turn the printer power back on.
- Try printing again.
Memory reset
When you install new ink cartridges, the printer should automatically recognize them and reset the internal memory accordingly. This feature ensures accurate display of ink levels. While this is a standard feature of printers, it is inevitable that they will experience glitches occasionally. In this case, your printer may not recognize the cartridge as new. To avoid this ink cartridge issue, power cycling your printer can reset its internal memory and help it recognize new cartridges. Turn it off, unplug for a minute, and then restart.
Conclusion
Dealing with a printer that won't recognize new ink cartridges can be frustrating, but often, the solution is simpler than you think. By understanding the common causes and following these troubleshooting steps, you can get back to printing smoothly in no time. Remember, the key is patience and methodical problem-solving.

Cómo limpiar el cartucho de tinta HP
Introducción
¿Te enfrentas a rayas, decoloración o texto borroso en tus impresiones? ¿Están llenos los cartuchos de tinta pero la tinta no fluye al papel? Esto suele ser causado por una pequeña cantidad de tinta o polvo que se seca y se acumula en las boquillas, lo que obstruye regularmente los cabezales de impresión de HP.
Este problema común, causado por la tinta seca o la acumulación de polvo, afortunadamente puede resolverse con un simple proceso de limpieza. El cabezal de impresión está obstruido debido al uso infrecuente del cartucho de tinta. Si regularmente pasas semanas sin imprimir, tus cartuchos de tinta eventualmente se secarán y necesitarán ser reemplazados. Limpiar el cabezal de impresión puede extender la vida útil del cartucho de tinta. En este blog, exploraremos las complejidades de los cabezales de impresión de HP y te guiaremos a través de los pasos para limpiarlos efectivamente.

¿Cuándo debo limpiar el cabezal de impresión?
Es esencial reconocer cuándo tu cabezal de impresión necesita atención. El cabezal de impresión puede ensuciarse después de haber estado inactivo durante un período de tiempo. Se recomienda imprimir algunas veces al mes para mantener la calidad de impresión y evitar que la tinta de los cartuchos de tinta se seque. Sin embargo, incluso si imprimes algunas veces a la semana, aún puedes encontrar problemas con el cabezal de impresión de HP.
Si el LCD de tu computadora o impresora te indica que los cartuchos de tinta están llenos, pero la tinta no penetra el papel, lo más probable es que tengas un problema con un cabezal de impresión obstruido. Documentos borrosos e imágenes que parecen desvanecidas también son señales de que es hora de eliminar el exceso de tinta.
Cómo limpiar el cabezal de impresión
- Apagar: Comienza apagando tu impresora y desenchufándola por seguridad.
- Extracción del cartucho: Retira cuidadosamente el cartucho de tinta. Recuerda manejarlo por sus bordes para evitar dañar la boquilla.
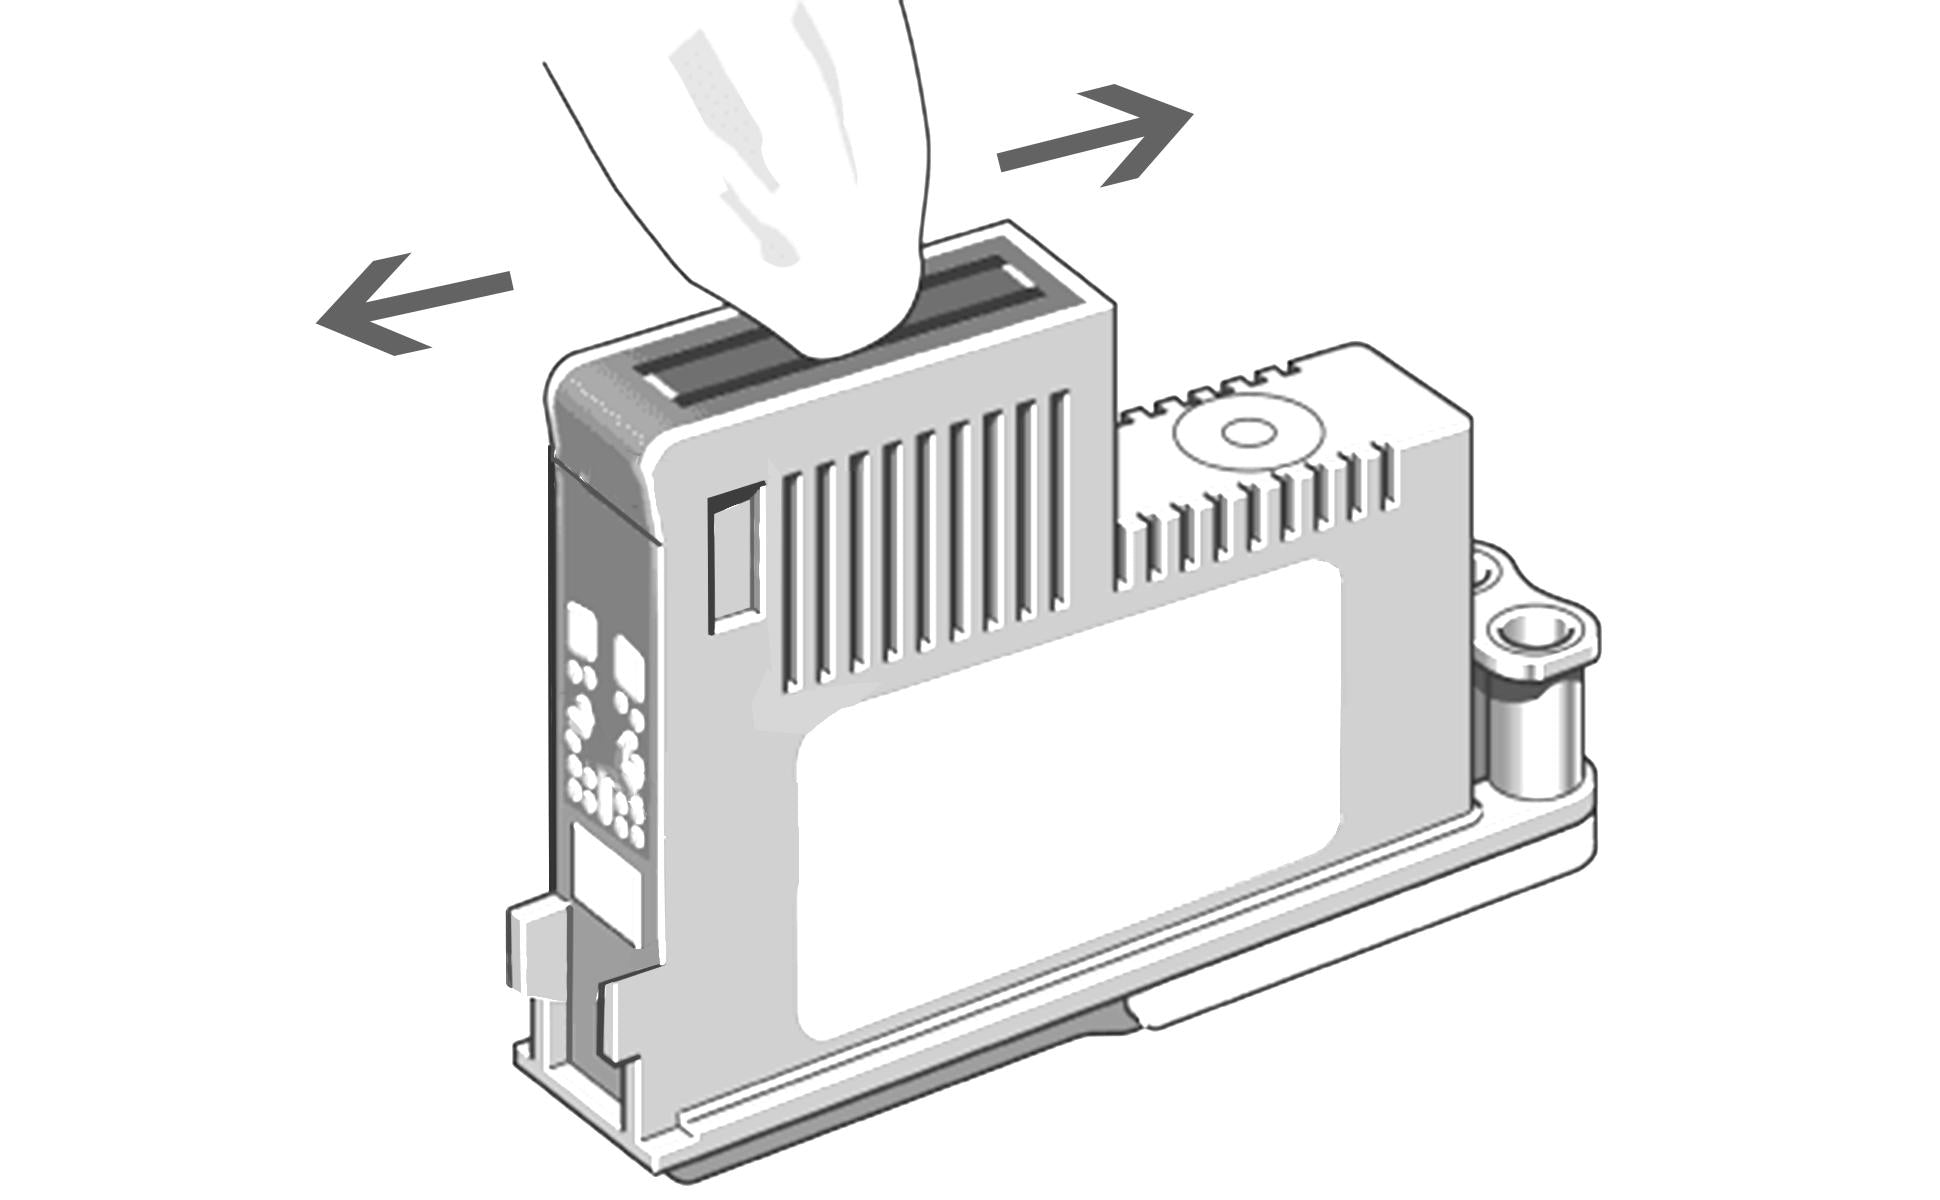
- Limpieza suave: Utiliza un paño limpio y sin pelusa para limpiar delicadamente las boquillas y los contactos en la parte inferior del cartucho. Cualquier residuo visible o tinta seca debe ser eliminado suavemente.
- Atención detallada: Para una limpieza a fondo, humedece ligeramente un hisopo de algodón con agua destilada y frótalo cuidadosamente a lo largo del cabezal de impresión. Limpia repetidamente para asegurarte de que se elimine todo el exceso de tinta.
- Secado: Una vez limpio, seca las boquillas y los contactos a fondo con un paño seco. Deja reposar el cartucho sobre una toalla de papel durante unos 15 minutos.
- Reinstalación y prueba: Reinserta los cartuchos en la impresora y realiza una impresión de prueba. Si los problemas persisten, puede ser hora de un nuevo cartucho.
Recuerda, el mantenimiento regular es clave para la longevidad y el rendimiento de tu impresora.
Join our community
Explore Your Creativity With Kamo Creative Studio.
When you're ready, sign up from anywhere in the world. Feel free to contact us if you would like to chat or email us.


