
DIY TRAVEL MAP
see step-by-step video tutorialsMaterials to Buy


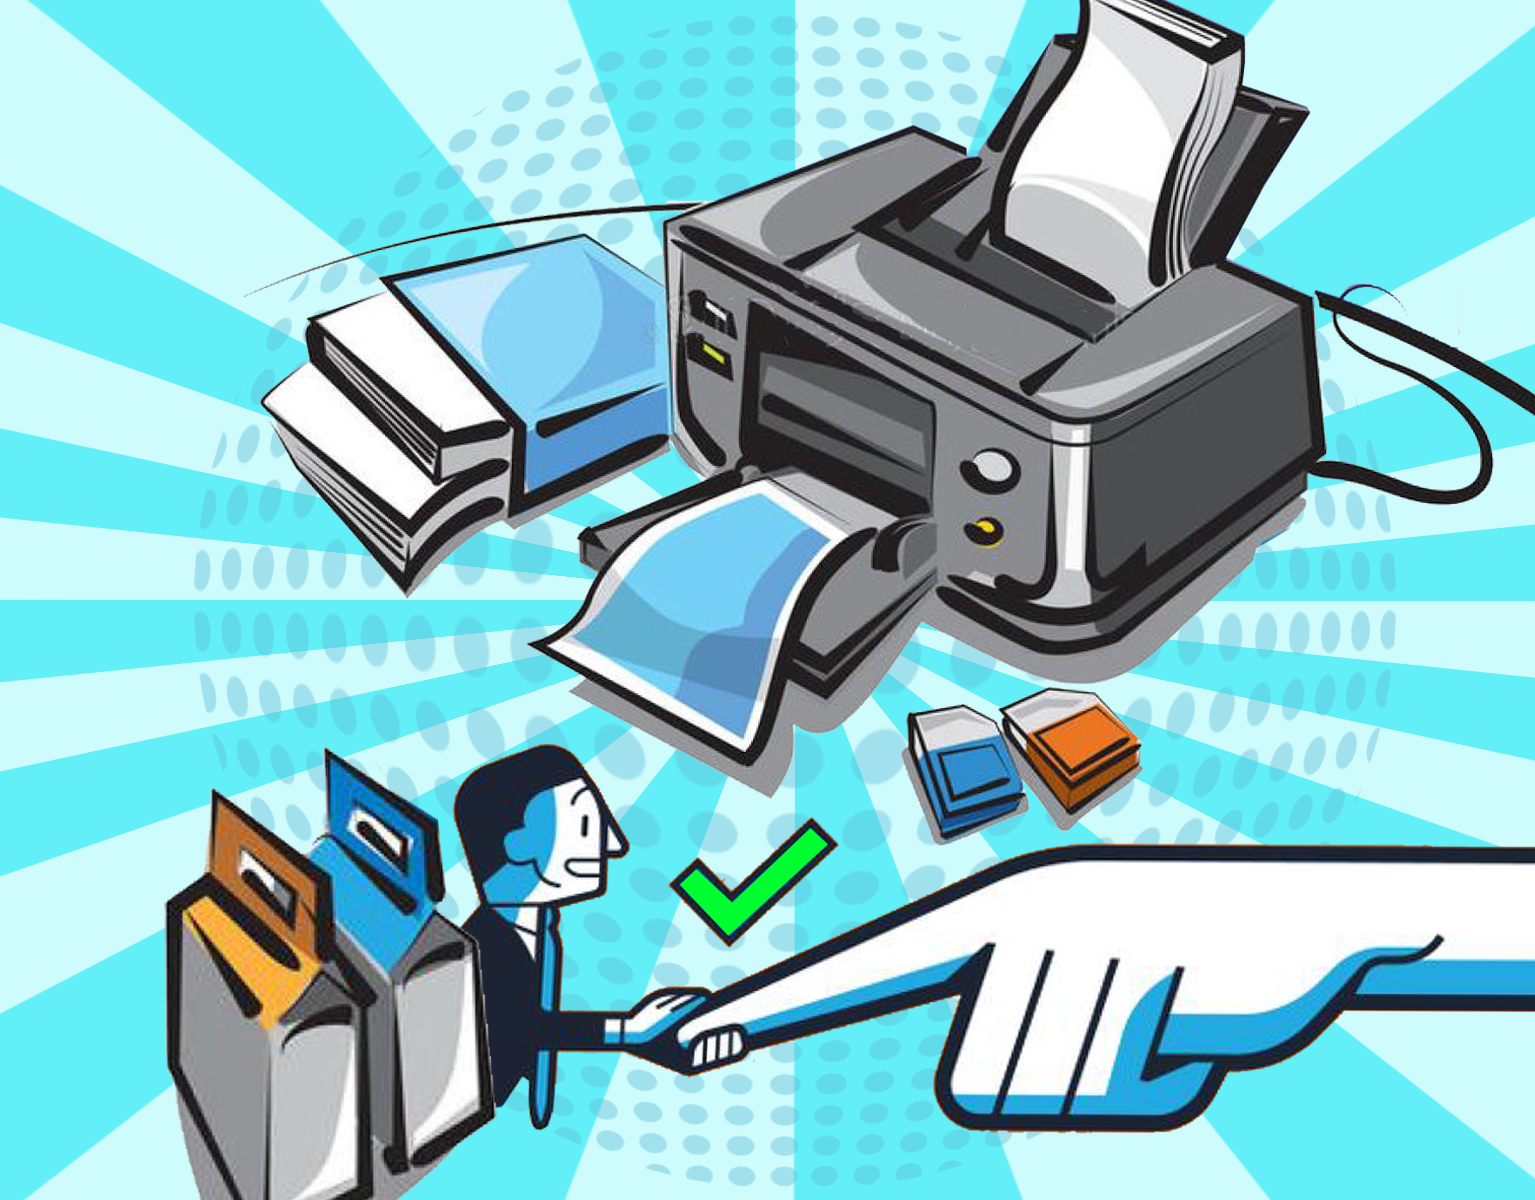
Choose Cartridges by Brand
How to DIY Your Own Stickers
Schritt 1: Designen und Drucken

Erstellen Sie Ihre gewünschten Designs am Computer. Nutzen Sie Plattformen wie Canva, Crello oder Adobe Spark, um Ihre Karten und Reisebilder zu gestalten. Drucken Sie die Karte auf das Ölmalpapier und die Reisebilder auf das Klebepapier.
Schritt 2: Ausschneiden und Aufkleben

Schneiden Sie die gedruckten Designs aus. Markieren Sie die Reisebilder und kleben Sie sie mit Pfeilen oder Flaggen auf die entsprechenden Orte der Karte. Bringen Sie alle Elemente auf der Acrylplatte an.
Schritt 3: Fertigstellen

Ihr personalisiertes Reise-Souvenir ist nun bereit, aufgehängt oder aufgestellt zu werden!
What To Expect From The
Kamo Creative Studio
Blog Posts
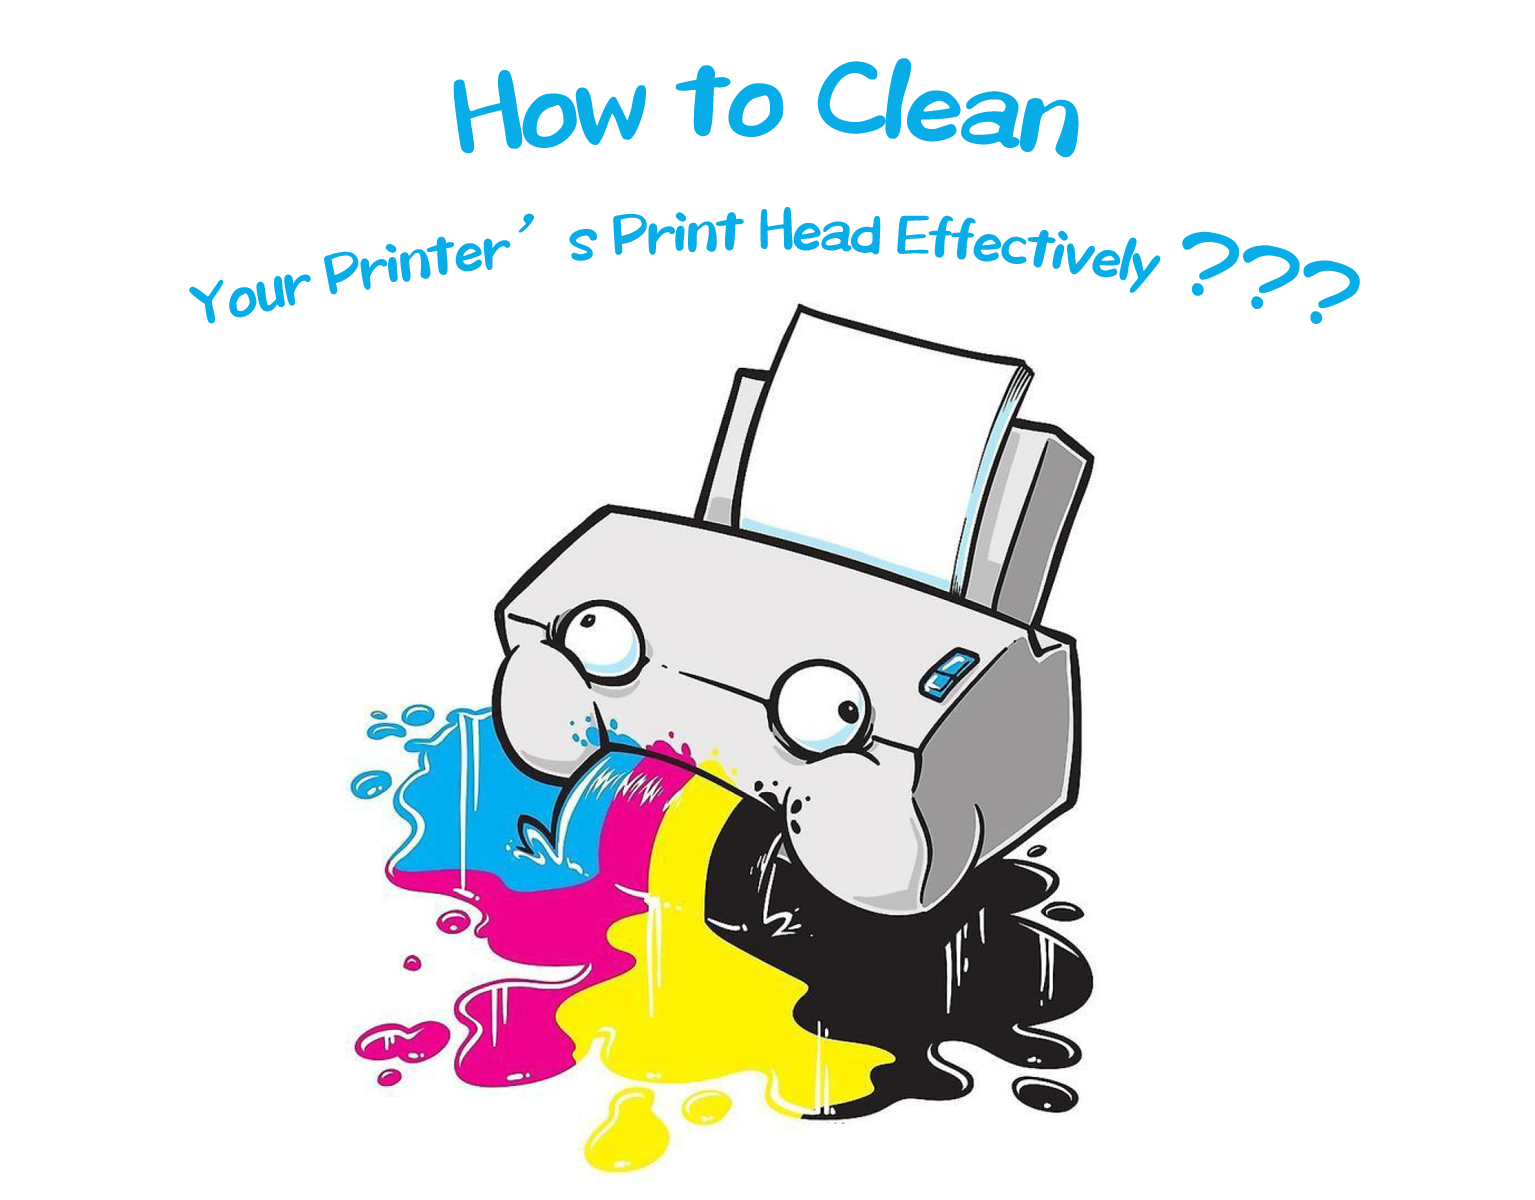
How to Clean Your Printer’s Print Head Effectively: A Practical Guide
In everyday home and office printing needs, maintaining optimal printer performance is crucial. Print head cleaning and maintenance are critical steps to ensure high-quality print output, especially for inkjet printers from brands such as Epson. This article explains when and how to clean your printer's printhead to ensure you continue to get clear, accurate prints.

When do I need to clean the print head?
Decreased print quality: If you notice that your printouts are blurry and have incorrect or missing colors, this could be a sign of a clogged nozzle.
Unusual printouts: If your printer seems to be working, but it's outputting a blank page, or the printout is chipped, black, or has other missing colors, this usually means the printhead needs to be cleaned.
Preparations before cleaning the print head:
Use the nozzle check tool: Before cleaning, use the nozzle check tool that comes with the printer to confirm whether cleaning is really needed. This can save ink.
Make sure you have enough ink: low ink levels may prevent effective cleaning, and when ink is depleted, cleaning may not be possible.
Prepare printing paper: The cleaning process will consume some ink, so please prepare several sheets of A4 plain paper.
How to clean the print head:
method one:
In Windows operating system, open the "Devices and Printers" or "Printers and Faxes" folder. Right-click your printer icon and select "Printing Preferences."

In the Printing Preferences window, click the Maintenance (or Tools) tab.

Click "Clean Printhead" to start the cleaning process, then click "Start" and wait for the first cleaning cycle to complete. During this process, be careful not to turn off the printer.

Method Two:
Access printer settings
On most printers, you can access the setup menu through the printer's display. If your printer does not have a display, you may need to use a computer connected to the printer to perform these steps.
Find cleaning options
In the printer's menu, find the options related to maintenance or cleaning. This is usually under the Settings, Tools or Maintenance menu.
Start cleaning process
Select "Clean Printhead" or a similar option to start the cleaning process. The printer will automatically start cleaning the print head. This process may take several minutes.


Inspection after cleaning:
Print a nozzle check pattern: After cleaning is completed, print a nozzle check pattern to confirm the effectiveness of the cleaning.
Further Action Required: If the nozzles check correctly but you are still having problems with the text, you may need to run the Printhead Alignment Tool. If you still have issues with print quality, you may need to clean it more than once (up to six times is recommended).
If the problem persists:
Turn the printer off for an extended period of time: If there are still problems with the nozzle check pattern, turn off the printer for at least six hours before checking again.
Replace the ink cartridge: If the problem still does not improve, it is recommended to install a new ink cartridge. If only a specific color is affected, simply replace the relevant cartridge.
Replace old ink cartridges: It is recommended to replace ink cartridges that have been opened for more than six months.
If the above steps don't resolve the issue:
If the above steps do not resolve your printing issue, we recommend contacting the printer manufacturer for further assistance. Professional technical support can provide more specific guidance and solutions.
Summarize
Regularly cleaning the printer's print head is an important step to maintain print quality and extend the service life of the printer.
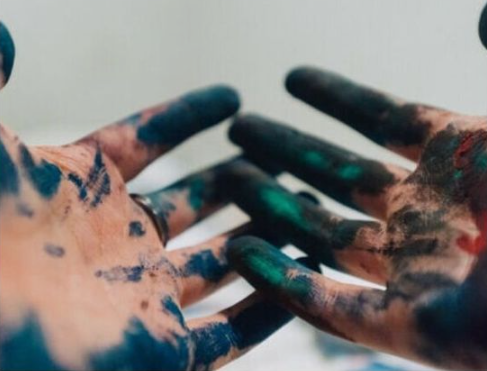
8 Ways To Get Toner or Ink Off Your Hands
Getting toner or ink off your hands can be a tricky task, but there are several effective methods you can try. Here are eight ways to do it:

- Soap and Warm Water: Start with the simplest solution. Use a mild soap and warm water, scrubbing your hands together vigorously. This method often works for less stubborn ink stains.
- Rubbing Alcohol or Hand Sanitizer: These alcohol-based solutions can break down ink. Apply a small amount to the stained area and rub it in before washing your hands with soap and water.
- Nail Polish Remover (Acetone): Acetone is effective in removing ink, but it can be harsh on the skin. Use it with caution, applying a small amount with a cotton ball or pad, then wash your hands thoroughly.
- Baking Soda and Water Paste: Make a paste with baking soda and water, apply it to the stained area, and rub gently. This mild abrasive can help lift the ink from your skin.
- Olive Oil or Cooking Oil: Oils can help loosen the ink. Rub oil on your hands, let it sit for a few minutes, and then wash off with soap and water.
- Lemon Juice and Salt: Lemon juice's acidity and salt's abrasiveness can work together to remove ink. Apply a mixture of lemon juice and salt to the stain, rub gently, and then wash off.
- WD-40 or Other Lubricants: These can help dissolve the ink. Spray a little on your hands, rub it in, and then wash your hands with soap and water. Use in a well-ventilated area.
- Baby Oil or Mineral Oil: Similar to cooking oils, these can help loosen the ink. Apply, let it sit for a few minutes, and then wash off with soap and water.
Remember, after using chemicals like nail polish remover or WD-40, it's important to thoroughly wash your hands with soap and water to remove any chemical residues. Also, be cautious of any skin allergies or sensitivities when using these methods.
Why won't the printer recognize the new ink cartridges
Introduction
Welcome to the perplexing yet fascinating world of printers, where a simple task like replacing an ink cartridge sometimes transforms into a technological conundrum. Picture this: you've just excitedly unwrapped a new ink cartridge, inserted it into your printer, and... nothing happens. The printer stubbornly refuses to acknowledge its presence. Frustrating, right? Let's demystify this common issue by delving into why this happens and how to resolve it.

Cartridge Compatibility
The first thing to check is whether the cartridge is compatible with your printer model. Even cartridges that look similar may not work if they're not designed for your specific printer.
Remove the protective strip
Unboxing a new ink cartridge reveals a protective plastic strip, a small yet crucial detail. Overlooking the removal of this strip is like forgetting the key in a lock; the printer simply won’t function. So, always ensure this protective guardian is removed before the cartridge makes its grand entrance into your printer.
Make sure the ink cartridge is inserted correctly
Another frequent hiccup occurs during the insertion process. It’s easy to miss the mark slightly, preventing the cartridge from snapping snugly into its designated home. Take a moment to reopen the printer, gently reposition the cartridge until you hear that satisfying click, signaling a successful installation.
Clean the contact chip
The cartridges have built-in metal contact ports that connect to corresponding contact ports in the printer. This feature enables communication and functionality between the two. If the metal contacts inside the printer are dirty or damaged, there's a good chance it won't be able to read the cartridge. You can use a lint-free cloth or cotton swab to clean the cartridge contacts:
- Turn off the printer and unplug it.
- Carefully remove the cartridge and place it on a flat surface.
- Identify the metal contacts on the ink cartridge.
- Identify the connection points inside the printer.
- Gently wipe the metal contacts with a dry, lint-free cloth or cotton swab to remove any dirt, dust, or residue.
- Do this for the printer's contact points.
- Place the ink cartridge back into the printer.
- Turn the printer power back on.
- Try printing again.
Memory reset
When you install new ink cartridges, the printer should automatically recognize them and reset the internal memory accordingly. This feature ensures accurate display of ink levels. While this is a standard feature of printers, it is inevitable that they will experience glitches occasionally. In this case, your printer may not recognize the cartridge as new. To avoid this ink cartridge issue, power cycling your printer can reset its internal memory and help it recognize new cartridges. Turn it off, unplug for a minute, and then restart.
Conclusion
Dealing with a printer that won't recognize new ink cartridges can be frustrating, but often, the solution is simpler than you think. By understanding the common causes and following these troubleshooting steps, you can get back to printing smoothly in no time. Remember, the key is patience and methodical problem-solving.
Come Pulire la Cartuccia d'Inchiostro HP
Introduzione
Hai problemi di striature, scolorimento o testo sfocato nelle tue stampe? Le cartucce di inchiostro sono piene ma l'inchiostro non arriva sulla carta? Questo è solitamente causato da una piccola quantità di inchiostro o polvere che si asciuga e si accumula negli ugelli, ostruendo regolarmente le testine di stampa HP.
Questo problema comune, causato dall'accumulo di inchiostro secco o polvere, può fortunatamente essere risolto con un semplice processo di pulizia. La testina di stampa è intasata a causa dell'uso non frequente della cartuccia d'inchiostro. Se passi regolarmente settimane senza stampare, le tue cartucce d'inchiostro alla fine si asciugheranno e dovranno essere sostituite. La pulizia della testina di stampa può prolungare la vita della cartuccia d'inchiostro. In questo blog, esploreremo le complessità delle testine di stampa HP e ti guideremo attraverso i passaggi per pulirle efficacemente.

Quando dovrei pulire la testina di stampa?
È essenziale riconoscere quando la tua testina di stampa necessita di attenzione. La testina di stampa può sporcarsi dopo essere stata inattiva per un periodo di tempo. Si consiglia di stampare alcune volte al mese per mantenere la qualità di stampa e prevenire l'asciugatura dell'inchiostro nelle cartucce. Tuttavia, anche se stampi alcune volte a settimana, potresti comunque incontrare problemi con la testina di stampa HP.
Se il display LCD del tuo computer o stampante ti indica che le cartucce d'inchiostro sono piene, ma nessun inchiostro penetra sulla carta, molto probabilmente hai un problema di testina di stampa intasata. Documenti sfocati e immagini dall'aspetto sbiadito sono anche segni che è il momento di rimuovere l'eccesso d'inchiostro.
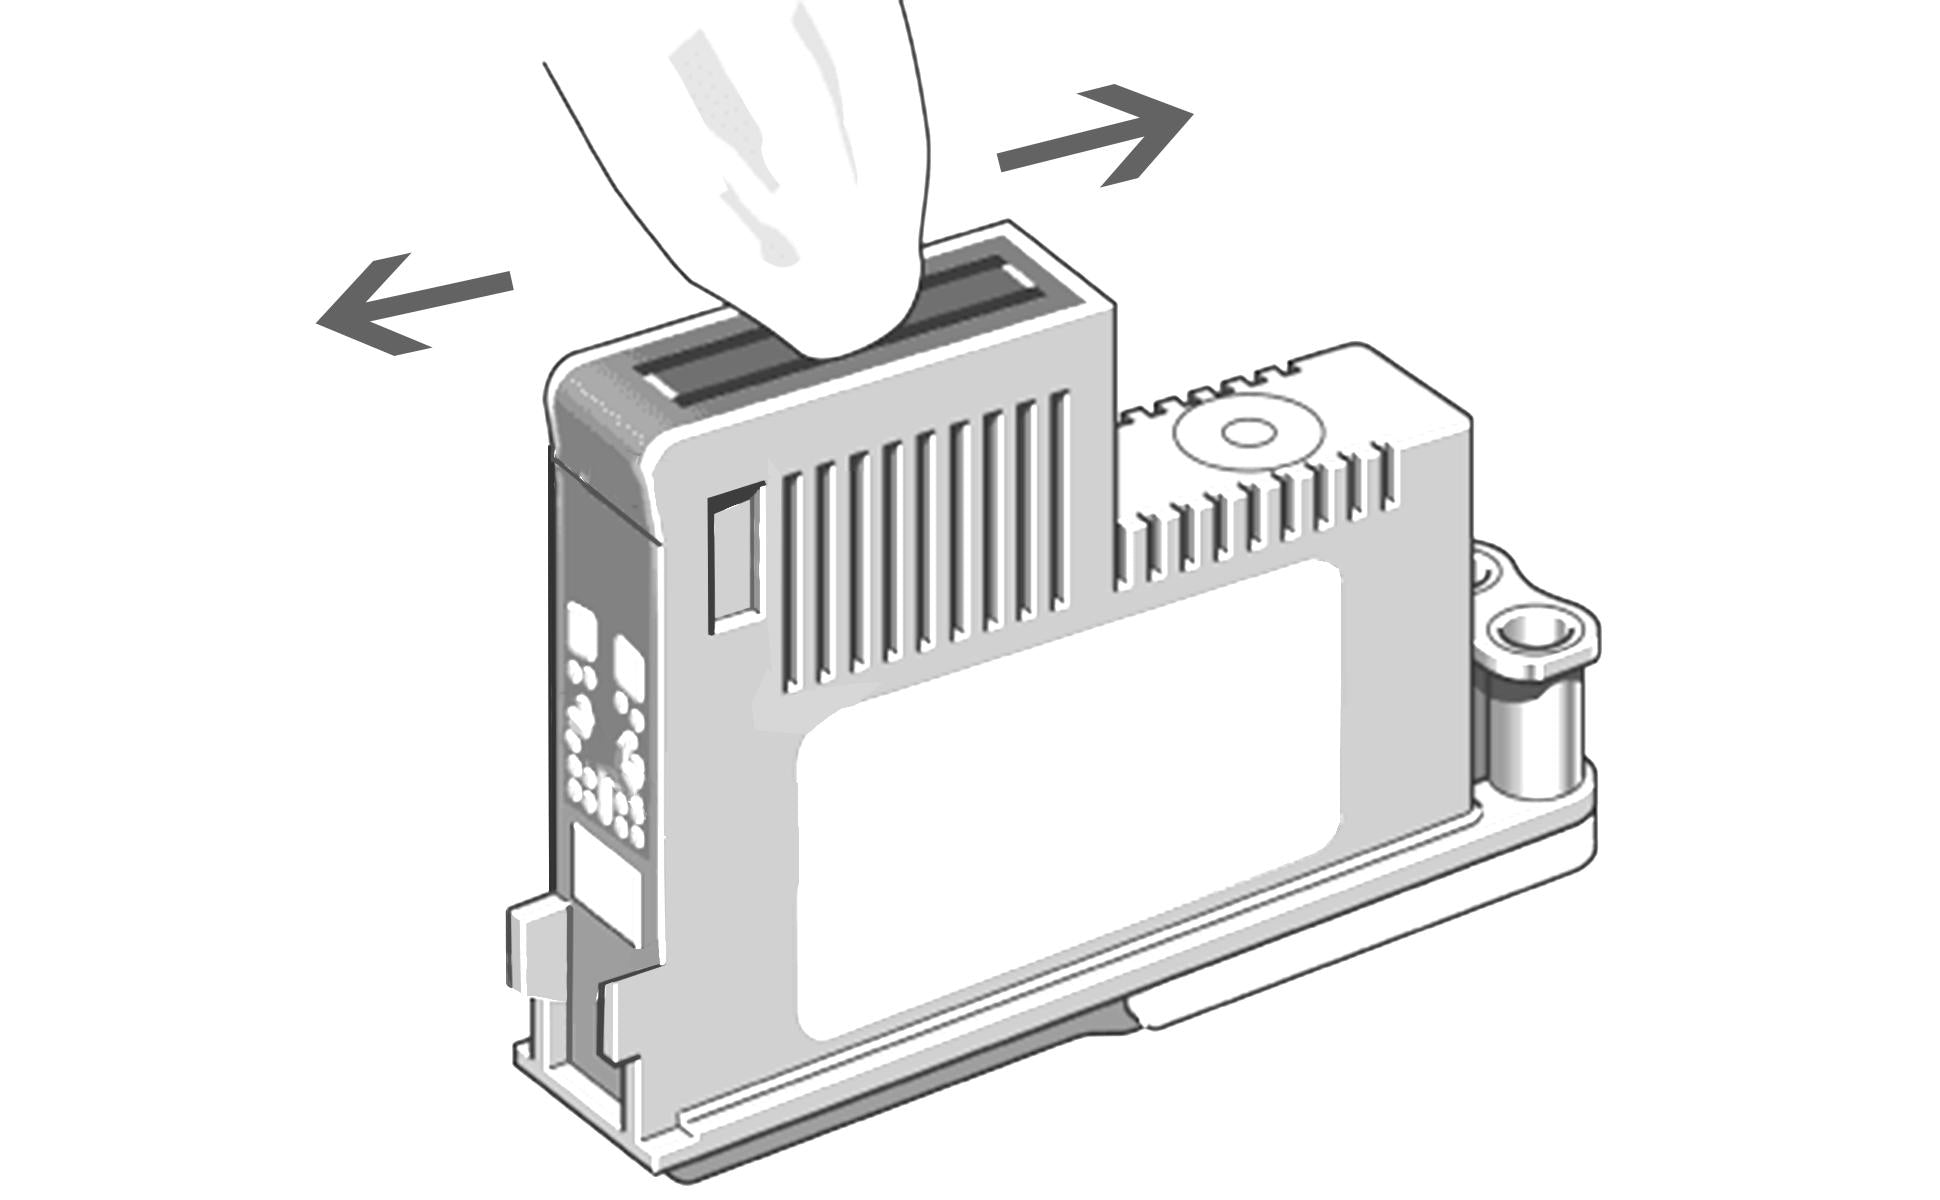
Come pulire la testina di stampa
- Spegnimento: Inizia spegnendo la stampante e scollegandola per sicurezza.
- Rimozione della Cartuccia: Rimuovi con attenzione la cartuccia d'inchiostro. Ricorda di maneggiarla dai bordi per evitare danni all'ugello.
- Pulizia Delicata: Utilizzando un panno pulito e senza pelucchi, pulisci delicatamente gli ugelli e i contatti sul fondo della cartuccia. Eventuali detriti visibili o inchiostro secco dovrebbero essere rimossi delicatamente.
- Attenzione Dettagliata: Per una pulizia approfondita, inumidisci leggermente un batuffolo di cotone con acqua distillata e strofinalo con cura lungo la testina di stampa. Pulisci ripetutamente per assicurarti che tutto l'inchiostro in eccesso sia rimosso.
- Asciugatura: Una volta puliti, asciuga accuratamente gli ugelli e i contatti con un panno asciutto. Lascia riposare la cartuccia su un asciugamano di carta per circa 15 minuti.
- Reinstallazione e Test: Reinserisci le cartucce nella stampante e effettua una stampa di prova. Se i problemi persistono, potrebbe essere il momento di una nuova cartuccia.
Ricorda, la manutenzione regolare è la chiave per la longevità e le prestazioni della tua stampante.
Join our community
Explore Your Creativity With Kamo Creative Studio.
When you're ready, sign up from anywhere in the world. Feel free to contact us if you would like to chat or email us.