
How to Clean Ink Cartridge
Introduction
Are you facing streaks, discoloration, or blurred text in your printouts? Are the ink cartridges full but the ink is not flowing to the paper? This is usually caused by a small amount of ink or dust drying and accumulating in the nozzles, which clogs HP printheads on a regular basis.
This common problem, caused by dried ink or dust accumulation, can thankfully be resolved with a simple cleaning process. The print head is clogged due to infrequent use of the ink cartridge. If you regularly go weeks without printing, your ink cartridges will eventually dry out and need to be replaced. Cleaning the printhead can extend the life of the ink cartridge. In this blog, we’ll explore the intricacies of HP printheads and guide you through the steps to effectively clean them.

When should I clean the printhead?
It's essential to recognize when your printhead needs attention. The printhead may become dirty after being left idle for a period of time. It is recommended that you print a few times a month to maintain print quality and prevent the ink in the ink cartridges from drying out. However, even if you print a few times a week, you may still encounter HP printhead issues.
If the LCD on your computer or printer tells you that the ink cartridges are full, but no ink is penetrating the paper, you most likely have a clogged printhead problem. Blurry documents and faded-looking images are also signs that it's time to remove excess ink.
How to clean the printhead
- Power Down: Begin by turning off your printer and unplugging it for safety.
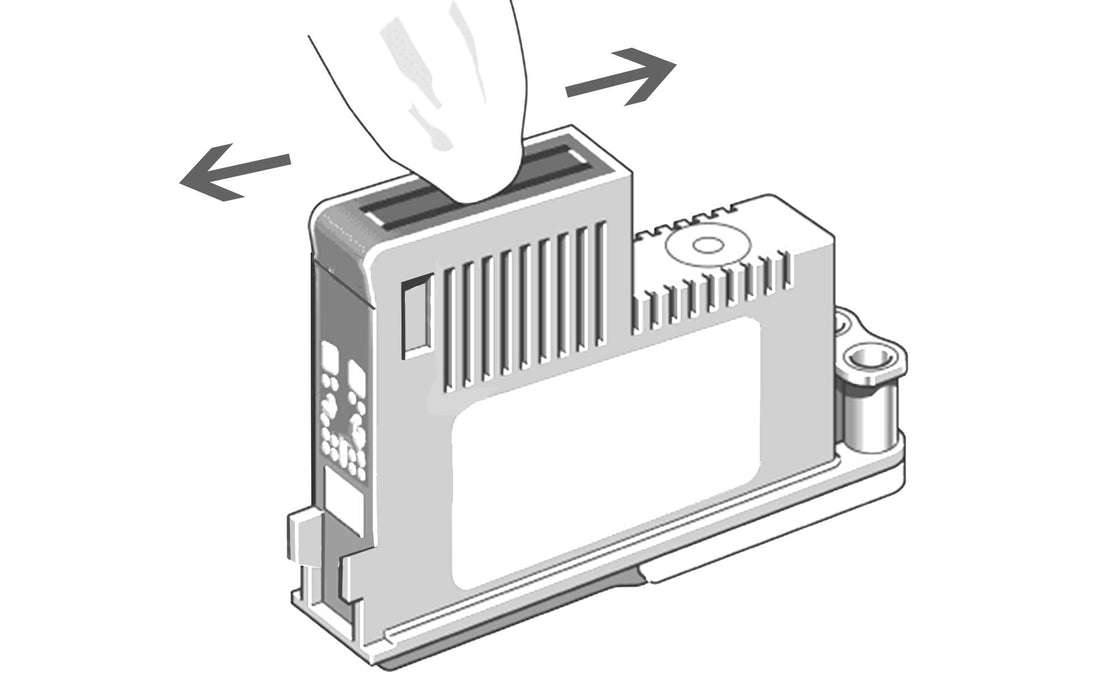
- Cartridge Removal: Carefully remove the ink cartridge. Remember to handle it by its edges to avoid any damage to the nozzle.
- Gentle Cleaning: Using a clean, lint-free cloth, delicately wipe the nozzles and contacts on the cartridge's bottom. Any visible debris or dried ink should be gently removed.
- Detailed Attention: If the clogging is serious, gently immerse the nozzle part of the ink cartridge in the warm water prepared previously and soak it for about 10 minutes. Or you can add a small amount of detergent to the water or use a special cleaning fluid.
- Drying: Once cleaned, dry the nozzles and contacts thoroughly with a dry cloth. Let the cartridge rest on a paper towel for about 15 minutes.
- Reinstallation and Testing: Reinsert the cartridges into the printer and conduct a test print. If issues persist, it may be time for a new cartridge.
Remember, regular maintenance is key to the longevity and performance of your printer.