DIY TRAVEL MAP
see step-by-step video tutorialsMaterials to Buy
Choose Cartridges by Brand


How to DIY Your Own Stickers
Schritt 1: Designen und Drucken

Erstellen Sie Ihre gewünschten Designs am Computer. Nutzen Sie Plattformen wie Canva, Crello oder Adobe Spark, um Ihre Karten und Reisebilder zu gestalten. Drucken Sie die Karte auf das Ölmalpapier und die Reisebilder auf das Klebepapier.
Schritt 2: Ausschneiden und Aufkleben

Schneiden Sie die gedruckten Designs aus. Markieren Sie die Reisebilder und kleben Sie sie mit Pfeilen oder Flaggen auf die entsprechenden Orte der Karte. Bringen Sie alle Elemente auf der Acrylplatte an.
Schritt 3: Fertigstellen

Ihr personalisiertes Reise-Souvenir ist nun bereit, aufgehängt oder aufgestellt zu werden!
What To Expect From The
Kamo Creative Studio
Lerne durch Schritt-für-Schritt-Anleitungsvideos, ein DIY-Projekt selbstständig zu meistern.
Erhalte hochwertige DIY-Werkzeuge und Materialien von Kamo.
Lasse dich während des DIY-Prozesses inspirieren, kultiviere deine künstlerischen Fähigkeiten, stärke dein Gefühl der Erfüllung und vertiefe menschliche Bindungen.
Tritt unserem Kreativstudio bei und teile die Freude an der Kunst mit anderen.
Blog Posts

How to Clean Your Printer’s Print Head Effectively: A Practical Guide
In everyday home and office printing needs, maintaining optimal printer performance is crucial. Print head cleaning and maintenance are critical steps to ensure high-quality print output, especially for inkjet printers from brands such as Epson. This article explains when and how to clean your printer's printhead to ensure you continue to get clear, accurate prints.

When do I need to clean the print head?
Decreased print quality: If you notice that your printouts are blurry and have incorrect or missing colors, this could be a sign of a clogged nozzle.
Unusual printouts: If your printer seems to be working, but it's outputting a blank page, or the printout is chipped, black, or has other missing colors, this usually means the printhead needs to be cleaned.
Preparations before cleaning the print head:
Use the nozzle check tool: Before cleaning, use the nozzle check tool that comes with the printer to confirm whether cleaning is really needed. This can save ink.
Make sure you have enough ink: low ink levels may prevent effective cleaning, and when ink is depleted, cleaning may not be possible.
Prepare printing paper: The cleaning process will consume some ink, so please prepare several sheets of A4 plain paper.
How to clean the print head:
method one:
In Windows operating system, open the "Devices and Printers" or "Printers and Faxes" folder. Right-click your printer icon and select "Printing Preferences."

In the Printing Preferences window, click the Maintenance (or Tools) tab.

Click "Clean Printhead" to start the cleaning process, then click "Start" and wait for the first cleaning cycle to complete. During this process, be careful not to turn off the printer.

Method Two:
Access printer settings
On most printers, you can access the setup menu through the printer's display. If your printer does not have a display, you may need to use a computer connected to the printer to perform these steps.
Find cleaning options
In the printer's menu, find the options related to maintenance or cleaning. This is usually under the Settings, Tools or Maintenance menu.
Start cleaning process
Select "Clean Printhead" or a similar option to start the cleaning process. The printer will automatically start cleaning the print head. This process may take several minutes.


Inspection after cleaning:
Print a nozzle check pattern: After cleaning is completed, print a nozzle check pattern to confirm the effectiveness of the cleaning.
Further Action Required: If the nozzles check correctly but you are still having problems with the text, you may need to run the Printhead Alignment Tool. If you still have issues with print quality, you may need to clean it more than once (up to six times is recommended).
If the problem persists:
Turn the printer off for an extended period of time: If there are still problems with the nozzle check pattern, turn off the printer for at least six hours before checking again.
Replace the ink cartridge: If the problem still does not improve, it is recommended to install a new ink cartridge. If only a specific color is affected, simply replace the relevant cartridge.
Replace old ink cartridges: It is recommended to replace ink cartridges that have been opened for more than six months.
If the above steps don't resolve the issue:
If the above steps do not resolve your printing issue, we recommend contacting the printer manufacturer for further assistance. Professional technical support can provide more specific guidance and solutions.
Summarize
Regularly cleaning the printer's print head is an important step to maintain print quality and extend the service life of the printer.

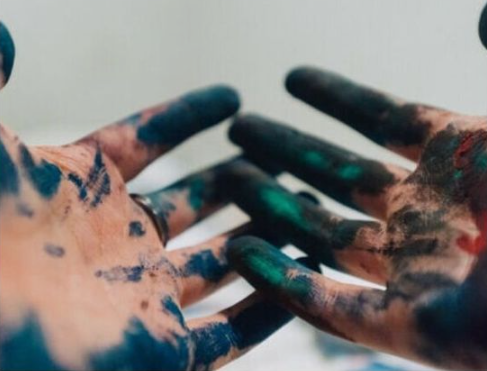
8 façons d'éliminer le toner ou l'encre de vos mains
Se débarrasser du toner ou de l'encre de vos mains peut être une tâche délicate, mais il existe plusieurs méthodes efficaces que vous pouvez essayer. Voici huit façons de procéder :

1. Savon et eau tiède : commencez par la solution la plus simple. Utilisez un savon doux et de l’eau tiède en vous frottant vigoureusement les mains. Cette méthode fonctionne souvent pour les taches d'encre moins tenaces.
2. Alcool à friction ou désinfectant pour les mains : Ces solutions à base d’alcool peuvent décomposer l’encre. Appliquez une petite quantité sur la zone tachée et frottez avant de vous laver les mains avec de l'eau et du savon.
3. Dissolvant pour vernis à ongles (acétone) : L’acétone est efficace pour éliminer l’encre, mais elle peut être agressive pour la peau. Utilisez-le avec précaution, en appliquant une petite quantité avec un coton ou un tampon, puis lavez-vous soigneusement les mains.
4. Pâte de bicarbonate de soude et d'eau : faites une pâte avec du bicarbonate de soude et de l'eau, appliquez-la sur la zone tachée et frottez doucement. Cet abrasif doux peut aider à éliminer l’encre de votre peau.
5. Huile d’olive ou huile de cuisson : Les huiles peuvent aider à détacher l’encre. Frottez l'huile sur vos mains, laissez-la reposer pendant quelques minutes, puis rincez à l'eau et au savon.
6. Jus de citron et sel : L'acidité du jus de citron et l'abrasivité du sel peuvent fonctionner ensemble pour éliminer l'encre. Appliquez un mélange de jus de citron et de sel sur la tache, frottez doucement, puis rincez.
7. WD-40 ou autres lubrifiants : ceux-ci peuvent aider à dissoudre l’encre. Vaporisez-en un peu sur vos mains, frottez-le, puis lavez-vous les mains à l'eau et au savon. Utiliser dans un endroit bien ventilé.
8. Huile pour bébé ou huile minérale : Semblables aux huiles de cuisson, elles peuvent aider à détacher l’encre. Appliquez, laissez agir quelques minutes, puis rincez à l'eau et au savon.
N'oubliez pas qu'après avoir utilisé des produits chimiques comme du dissolvant pour vernis à ongles ou du WD-40, il est important de vous laver soigneusement les mains avec de l'eau et du savon pour éliminer tout résidu chimique. Faites également attention aux allergies ou sensibilités cutanées lorsque vous utilisez ces méthodes.

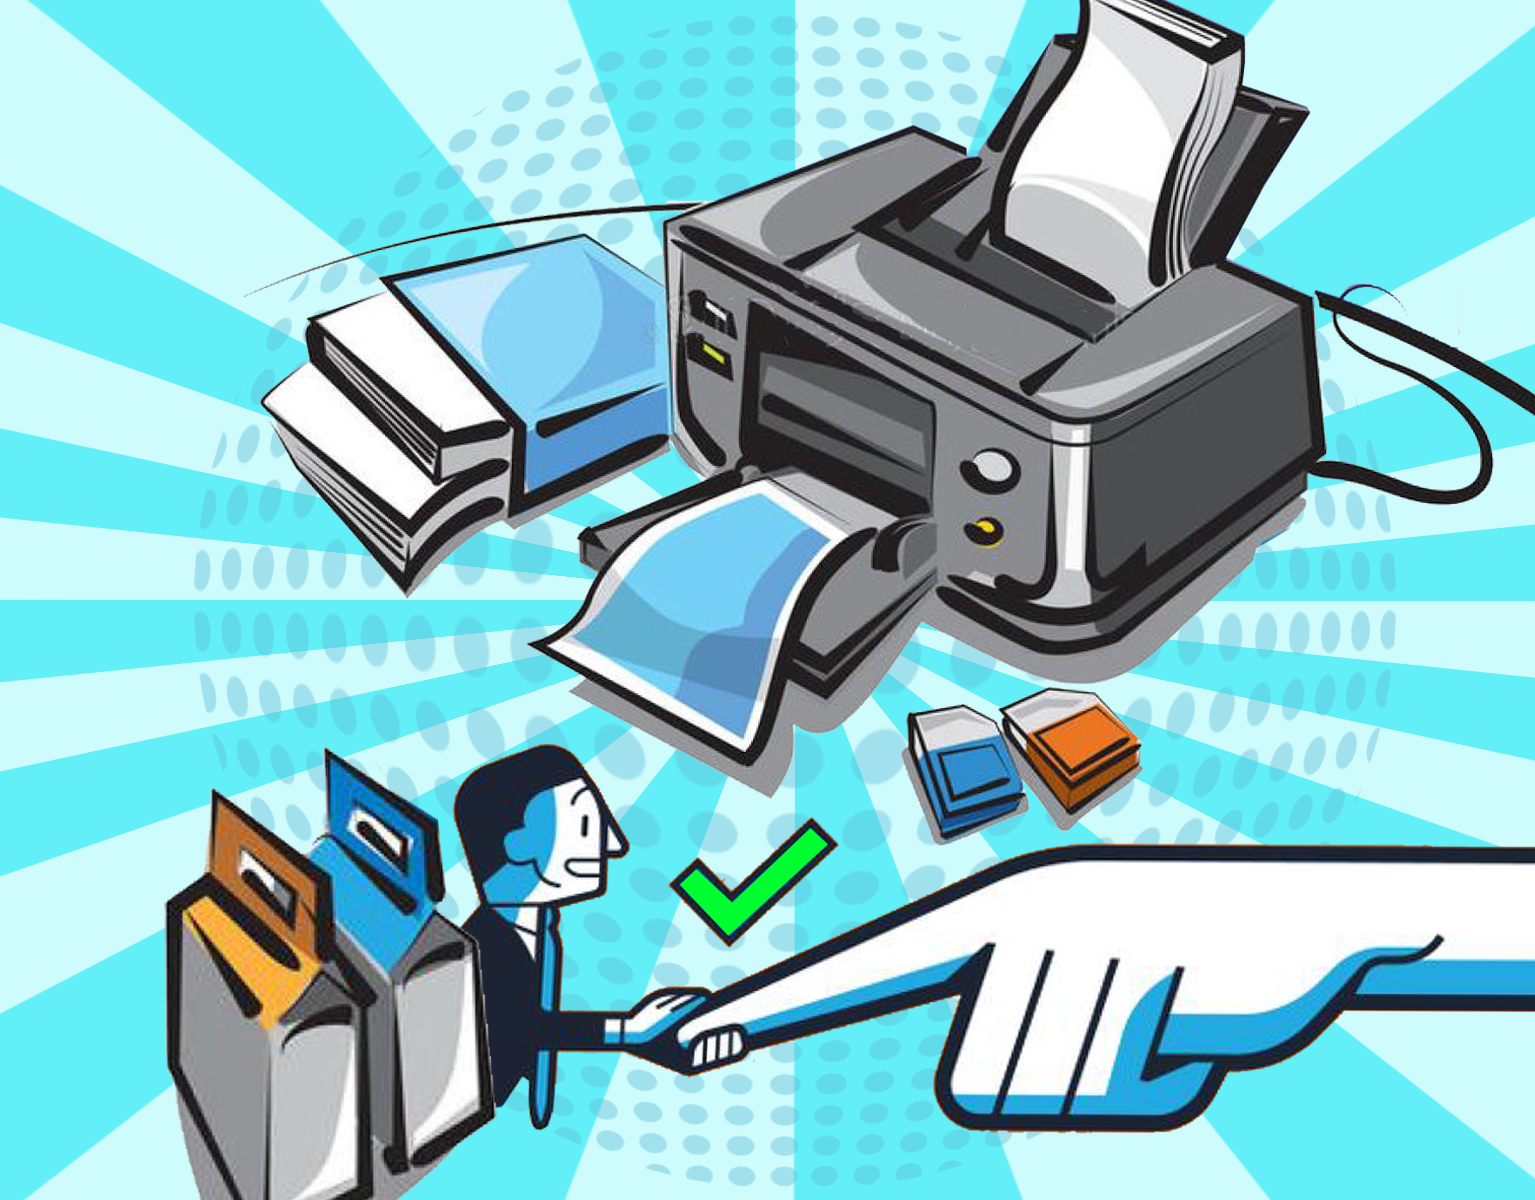
Why won't the printer recognize the new ink cartridges
Introduction
Welcome to the perplexing yet fascinating world of printers, where a simple task like replacing an ink cartridge sometimes transforms into a technological conundrum. Picture this: you've just excitedly unwrapped a new ink cartridge, inserted it into your printer, and... nothing happens. The printer stubbornly refuses to acknowledge its presence. Frustrating, right? Let's demystify this common issue by delving into why this happens and how to resolve it.

Cartridge Compatibility
The first thing to check is whether the cartridge is compatible with your printer model. Even cartridges that look similar may not work if they're not designed for your specific printer.
Remove the protective strip
Unboxing a new ink cartridge reveals a protective plastic strip, a small yet crucial detail. Overlooking the removal of this strip is like forgetting the key in a lock; the printer simply won’t function. So, always ensure this protective guardian is removed before the cartridge makes its grand entrance into your printer.
Make sure the ink cartridge is inserted correctly
Another frequent hiccup occurs during the insertion process. It’s easy to miss the mark slightly, preventing the cartridge from snapping snugly into its designated home. Take a moment to reopen the printer, gently reposition the cartridge until you hear that satisfying click, signaling a successful installation.
Clean the contact chip
The cartridges have built-in metal contact ports that connect to corresponding contact ports in the printer. This feature enables communication and functionality between the two. If the metal contacts inside the printer are dirty or damaged, there's a good chance it won't be able to read the cartridge. You can use a lint-free cloth or cotton swab to clean the cartridge contacts:
- Turn off the printer and unplug it.
- Carefully remove the cartridge and place it on a flat surface.
- Identify the metal contacts on the ink cartridge.
- Identify the connection points inside the printer.
- Gently wipe the metal contacts with a dry, lint-free cloth or cotton swab to remove any dirt, dust, or residue.
- Do this for the printer's contact points.
- Place the ink cartridge back into the printer.
- Turn the printer power back on.
- Try printing again.
Memory reset
When you install new ink cartridges, the printer should automatically recognize them and reset the internal memory accordingly. This feature ensures accurate display of ink levels. While this is a standard feature of printers, it is inevitable that they will experience glitches occasionally. In this case, your printer may not recognize the cartridge as new. To avoid this ink cartridge issue, power cycling your printer can reset its internal memory and help it recognize new cartridges. Turn it off, unplug for a minute, and then restart.
Conclusion
Dealing with a printer that won't recognize new ink cartridges can be frustrating, but often, the solution is simpler than you think. By understanding the common causes and following these troubleshooting steps, you can get back to printing smoothly in no time. Remember, the key is patience and methodical problem-solving.

Comment nettoyer la cartouche d'encre HP
Introduction
Vous constatez des traces, des décolorations ou du texte flou sur vos impressions ? Les cartouches d'encre sont pleines mais l'encre ne s'écoule pas sur le papier ? Cela est généralement causé par une petite quantité d'encre ou de poussière qui sèche et s'accumule dans les buses, ce qui obstrue régulièrement les têtes d'impression HP.
Ce problème courant, causé par l'encre sèche ou l'accumulation de poussière, peut heureusement être résolu avec un simple processus de nettoyage. La tête d'impression est bouchée en raison de l'utilisation peu fréquente de la cartouche d'encre. Si vous ne imprimez pas régulièrement pendant plusieurs semaines, vos cartouches d'encre finiront par sécher et devront être remplacées. Nettoyer la tête d'impression peut prolonger la durée de vie de la cartouche d'encre. Dans ce blog, nous explorerons les subtilités des têtes d'impression HP et vous guiderons à travers les étapes pour les nettoyer efficacement.

Quand dois-je nettoyer la tête d'impression ?
Il est essentiel de reconnaître quand votre tête d'impression nécessite une attention. La tête d'impression peut devenir sale après avoir été laissée inutilisée pendant un certain temps. Il est recommandé d'imprimer quelques fois par mois pour maintenir la qualité d'impression et empêcher l'encre dans les cartouches d'encre de sécher. Cependant, même si vous imprimez quelques fois par semaine, vous pouvez toujours rencontrer des problèmes de tête d'impression HP.
Si l'écran LCD de votre ordinateur ou imprimante vous indique que les cartouches d'encre sont pleines, mais qu'aucune encre ne pénètre le papier, vous avez très probablement un problème de tête d'impression bouchée. Les documents flous et les images à l'aspect délavé sont également des signes qu'il est temps de retirer l'excès d'encre.
Comment nettoyer la tête d'impression
- Éteindre : Commencez par éteindre votre imprimante et la débrancher pour des raisons de sécurité.
- Retrait de la cartouche : Retirez soigneusement la cartouche d'encre. Souvenez-vous de la manipuler par ses bords pour éviter tout dommage à la buse.
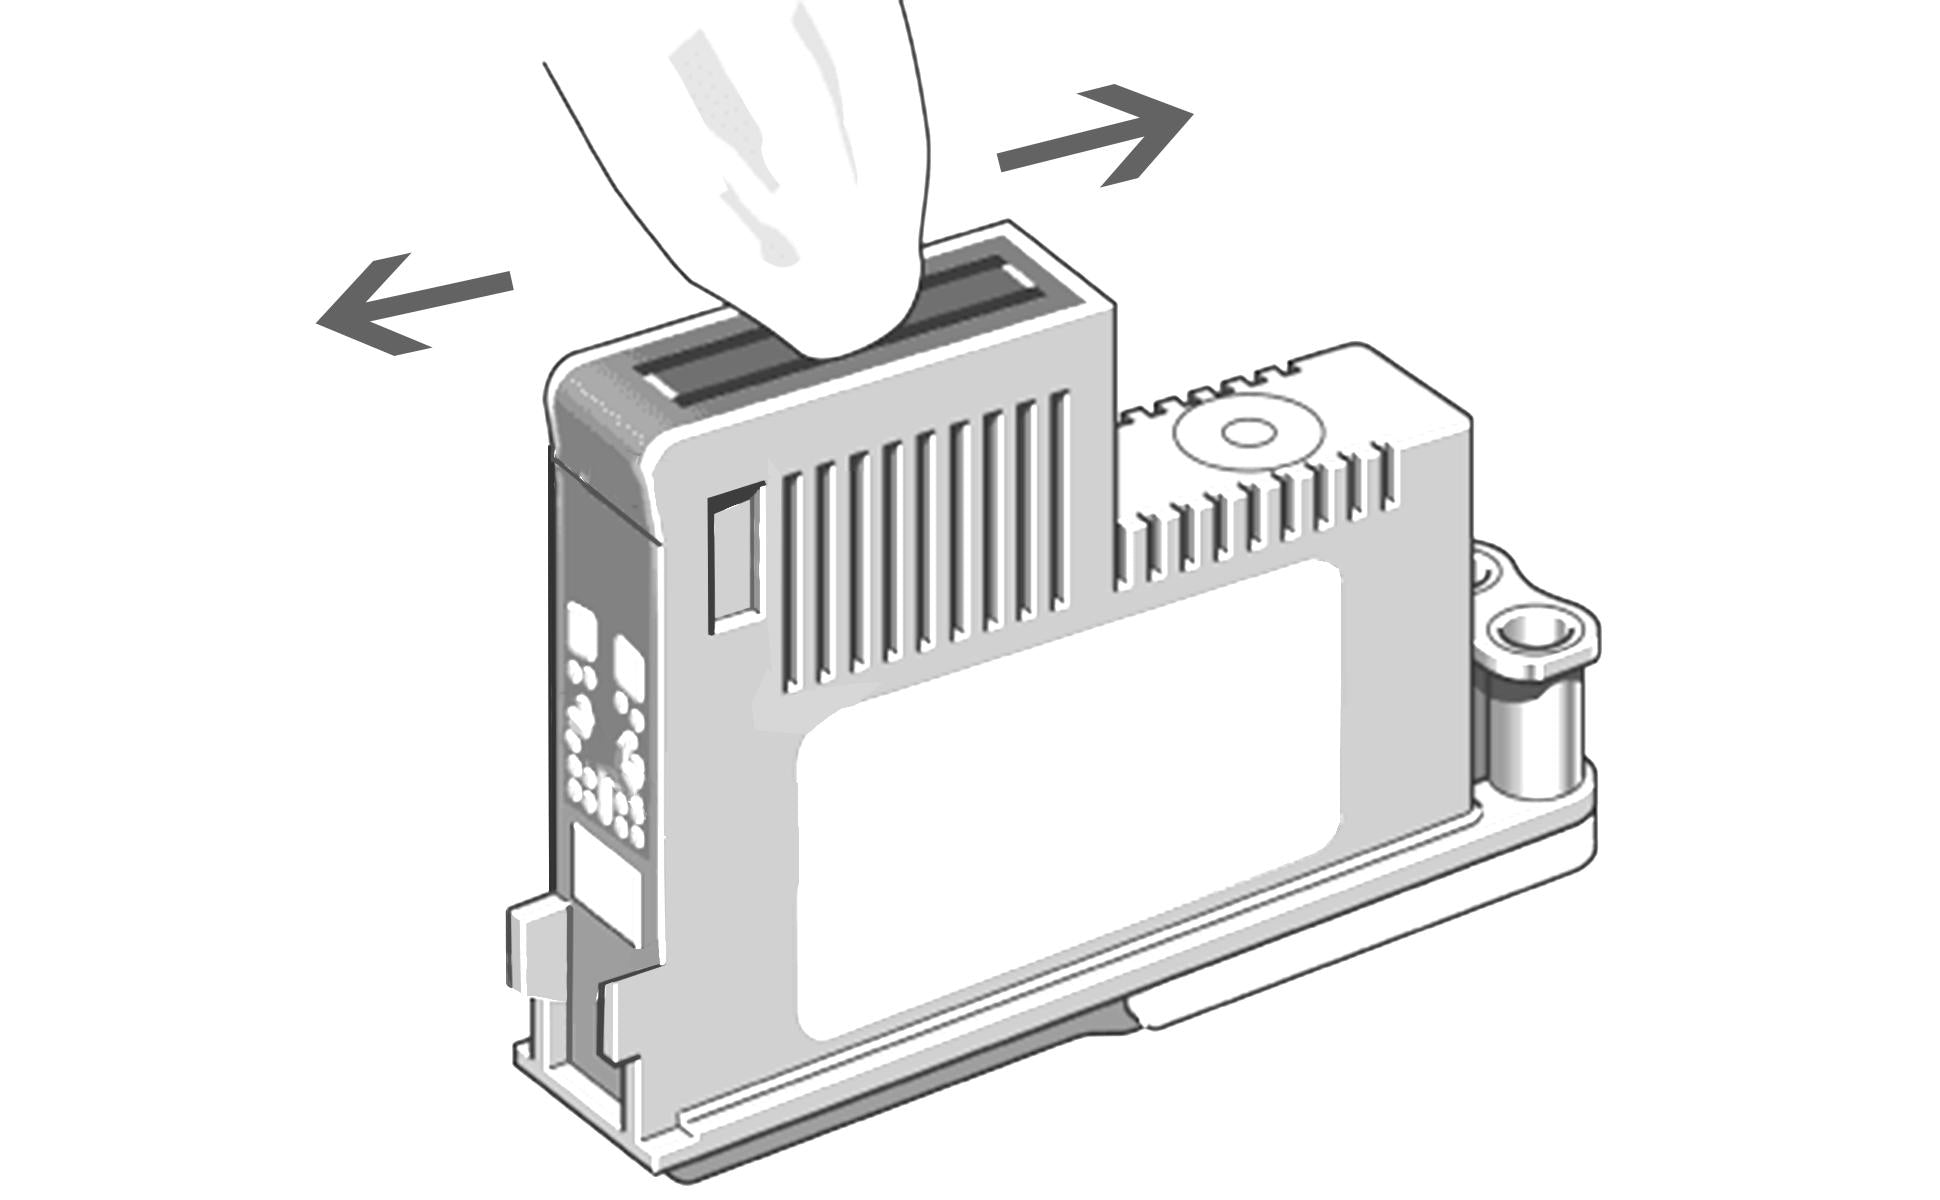
- Nettoyage en douceur : Utilisez un chiffon propre et sans peluche pour essuyer délicatement les buses et les contacts au bas de la cartouche. Tout débris visible ou encre sèche doit être doucement enlevé.
- Attention détaillée : Pour un nettoyage en profondeur, humidifiez légèrement un coton-tige avec de l'eau distillée et frottez-le soigneusement le long de la tête d'impression. Essuyez à plusieurs reprises pour vous assurer que tout l'excès d'encre est retiré.
- Séchage : Une fois nettoyé, séchez soigneusement les buses et les contacts avec un chiffon sec. Laissez reposer la cartouche sur une serviette en papier pendant environ 15 minutes.
- Réinstallation et test : Réinsérez les cartouches dans l'imprimante et réalisez un test d'impression. Si les problèmes persistent, il peut être temps de remplacer la cartouche.
Rappelez-vous, l'entretien régulier est la clé de la longévité et de la performance de votre imprimante.
Join our community
Explore Your Creativity With Kamo Creative Studio.
When you're ready, sign up from anywhere in the world. Feel free to contact us if you would like to chat or email us.


