
DIY Campus Keepsake Stickers With Kamo
see step-by-step video tutorialsMaterials to Buy

Ink Cartridges

Toners

Stickers
Choose Cartridges by Brand
How to DIY Your Own Stickers
Schritt 1: Kartenmaterial erfassen und importieren

Suchen Sie auf Plattformen wie Google Maps oder Apple Maps nach Ihrer Schule und der Umgebung. Machen Sie Screenshots von diesen Karten und importieren Sie die Bilder in eine Design-Plattform wie Canva, Procreate oder Adobe Photoshop. In diesem Beispiel verwenden wir Procreate.
Schritt 2: Gestalten und zeichnen

Zeichnen Sie einen Kreis um den Umriss Ihrer Schule.Verwenden Sie eine dicke Linie, um die Gebäude und Straßen innerhalb des Kreises zu skizzieren.Fügen Sie an besonderen Orten, die für Sie von Bedeutung sind (wie z.B. Orte, an denen Sie sich mit Freunden getroffen haben), niedliche Elemente und Verzierungen hinzu.Färben Sie die Zeichnung ein und fügen Sie Textinformationen rund um den Kreis hinzu.Zeichnen Sie abschließend einen weiteren Kreis um die äußeren Textelemente.
Schritt 3: Drucken und Ausschneiden

Drucken Sie Ihr fertiges Design auf Klebepapier aus. Schneiden Sie die Aufkleber sorgfältig aus.
Schritt 4: Aufkleben und Erinnerungen bewahren

Jetzt können Sie Ihre personalisierten Aufkleber überall aufkleben – auf Ihrem Rucksack, Ihrer Wasserflasche, Kleidung und vielem mehr, um Ihre schönen Campus-Erinnerungen immer bei sich zu tragen.
What To Expect From The
Kamo Creative Studio
Blog Posts
Why doesn't the label maker print after installing the label tape?

When a label maker doesn't print after installing new label tape, there could be several reasons behind the issue. Here's a checklist of common issues to troubleshoot:
Correct Installation: Ensure that the label tape is correctly installed. Many label makers have specific steps for loading the tape, and not following these can lead to printing issues. Refer to the user manual for instructions.
Compatible Tape: Make sure the tape is compatible with your label maker model. Using the wrong type or size of tape can prevent the device from printing.
Tape Cartridge and Protective Film: Check if the tape cartridge is properly seated within the label maker. Also, some tapes come with a protective film or strip that needs to be removed before installation.
Printer Head and Roller Cleanliness: Dirt, dust, or debris on the print head or roller can cause printing issues. To clean the print head, use a cotton swab or, if available, a specialized Print Head Cleaning Cassette designed for this purpose. Similarly, a cotton swab should be employed to gently clean the roller, ensuring both parts are kept in optimal condition for high-quality printing results.
Battery or Power Supply: Insufficient power due to low batteries or a faulty power supply can prevent the label maker from printing. Try replacing the batteries or checking the power cord and adapter.
Reset the Label Maker: Some label makers may require a reset after installing new tape. Look into the manual for how to reset your specific model.
Check for Error Messages: If your label maker has a display screen, check for any error messages that could indicate the nature of the problem, such as tape jam or print head issues.
If after going through these steps the issue persists, consulting the user manual for troubleshooting tips specific to your label maker model or contacting the manufacturer's customer support can be helpful. They may provide model-specific advice or indicate if the label maker needs repair.

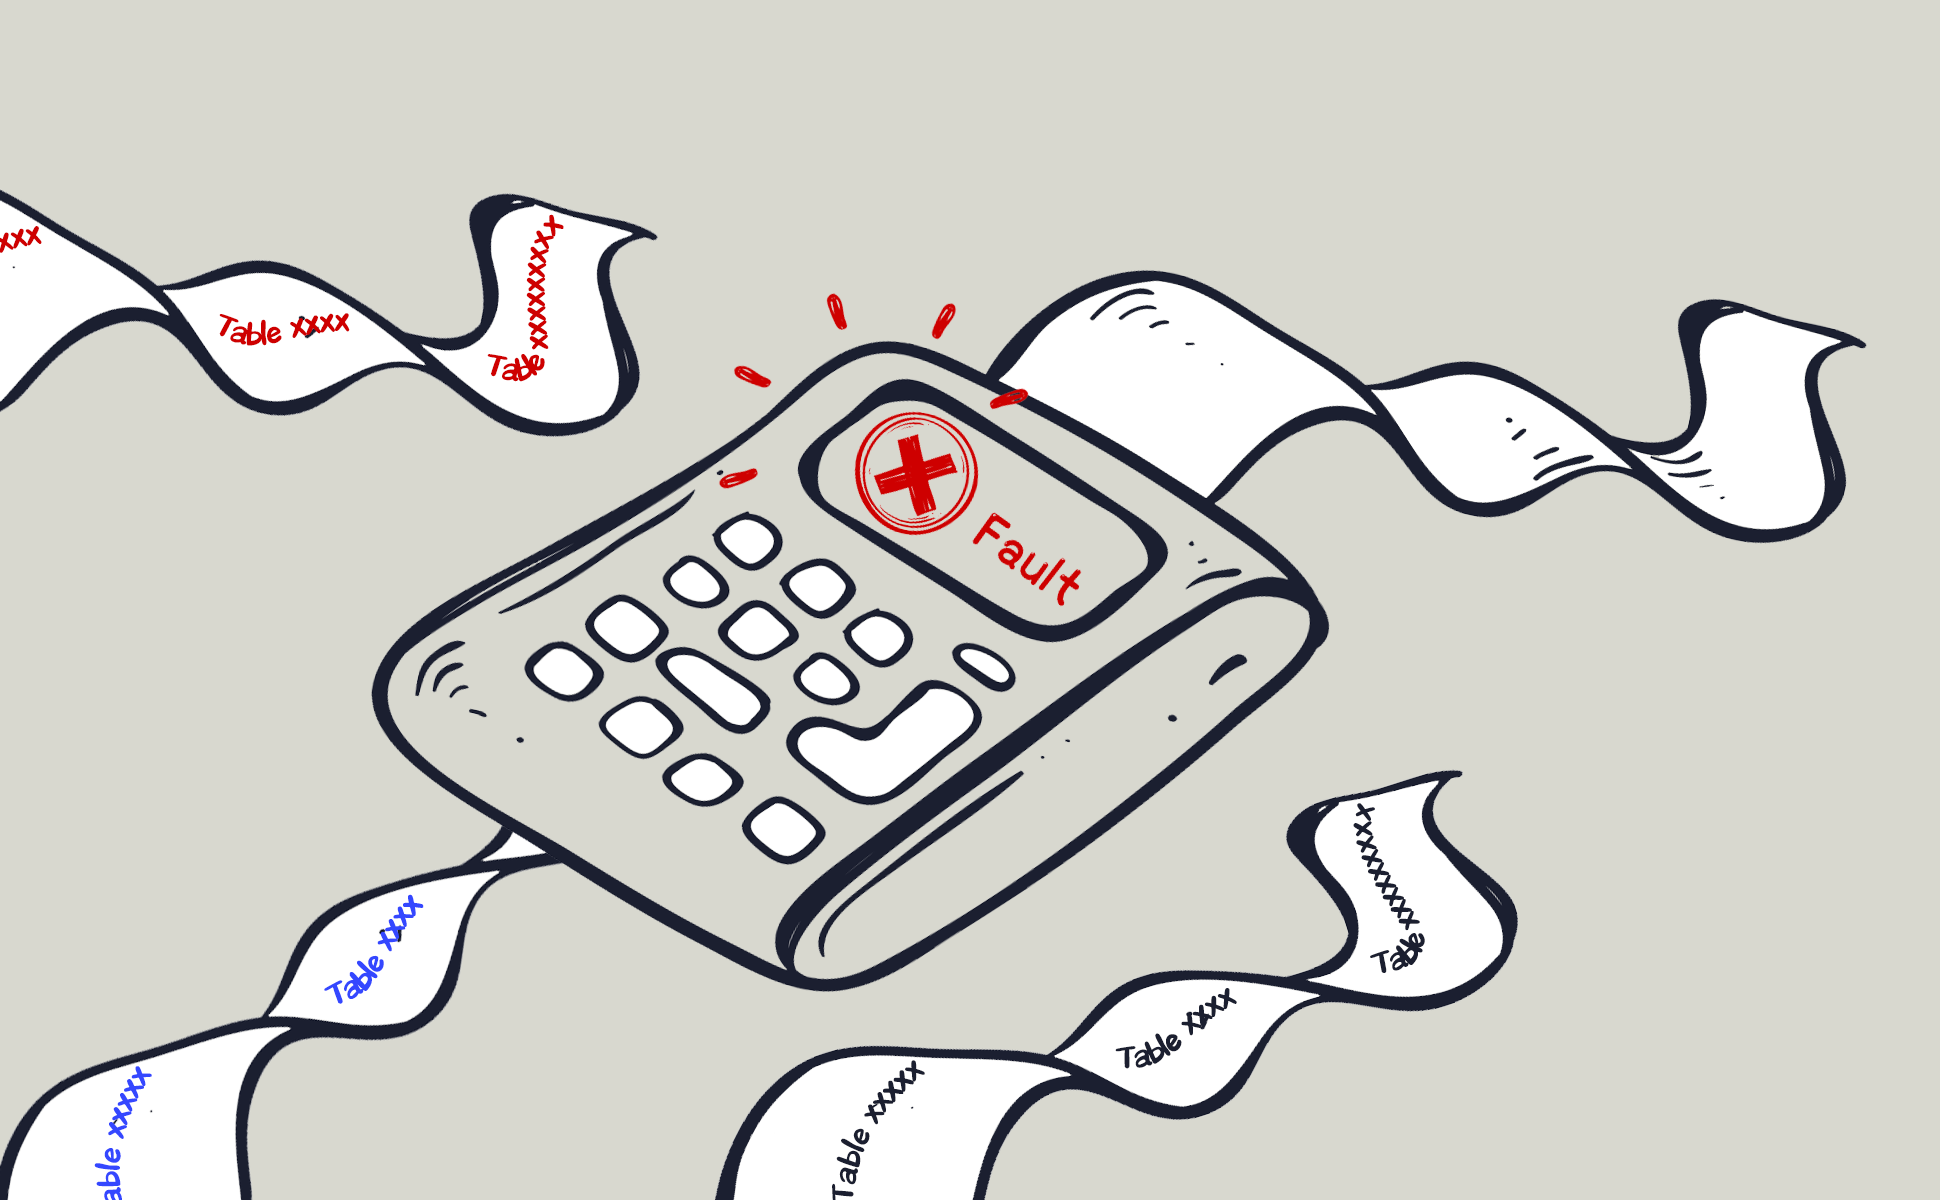
How to Resolve Unrecognized Compatible Toner Cartridges
After installing a compatible toner cartridge, you might encounter an issue where the printer does not recognize the toner cartridge, preventing you from printing. As a supplier committed to providing high-quality compatible toner cartridges, we understand this can be inconvenient for our customers. Therefore, we offer the following troubleshooting steps and solutions to help you quickly resolve the issue.

- Check Cartridge Installation
Ensure the toner cartridge is fully inserted and correctly installed in the printer. Sometimes, a gentle push until a "click" is heard can confirm the cartridge is properly seated.
- Clean Contact Points
Gently wipe the contact points of the cartridge and printer with a clean, slightly damp cloth. Avoid using any corrosive cleaning agents.
- Check Chip Compatibility
Ensure the chip on the toner cartridge is not damaged and is designed for your specific printer model. An incompatible chip can lead to recognition failure.
- Update or Rollback Printer Software
Check the official website of your printer manufacturer for any firmware or driver updates. If the issue arose after a recent update, consider rolling back to a previous version.
- Manage Printer Software Updates
Automatic updates to your printer's firmware or software can sometimes cause compatibility issues with compatible or remanufactured toners. To prevent this, you may want to disable automatic updates. You can do this through your computer by navigating to the printer properties:
Go to the Control Panel, select 'Printers and Devices', right-click your printer in the list, choose 'Properties', then the 'Software' tab, and un-tick the option to automatically update your printer. This precaution can help maintain compatibility with non-original toner cartridges.
- Adjust Printer Settings
Some printers allow users to adjust settings to accept non-original toner cartridges. Consult your printer manual to learn how to adjust these settings.
Conclusion
We are committed to providing high-quality compatible toner cartridges and ensuring your satisfaction. If the above steps do not resolve your issue, please do not hesitate to contact us. Our professional technical support team will go the extra mile to provide you with personalized solutions.
Thank you for choosing our compatible toner cartridges, and we look forward to continuing to serve you.
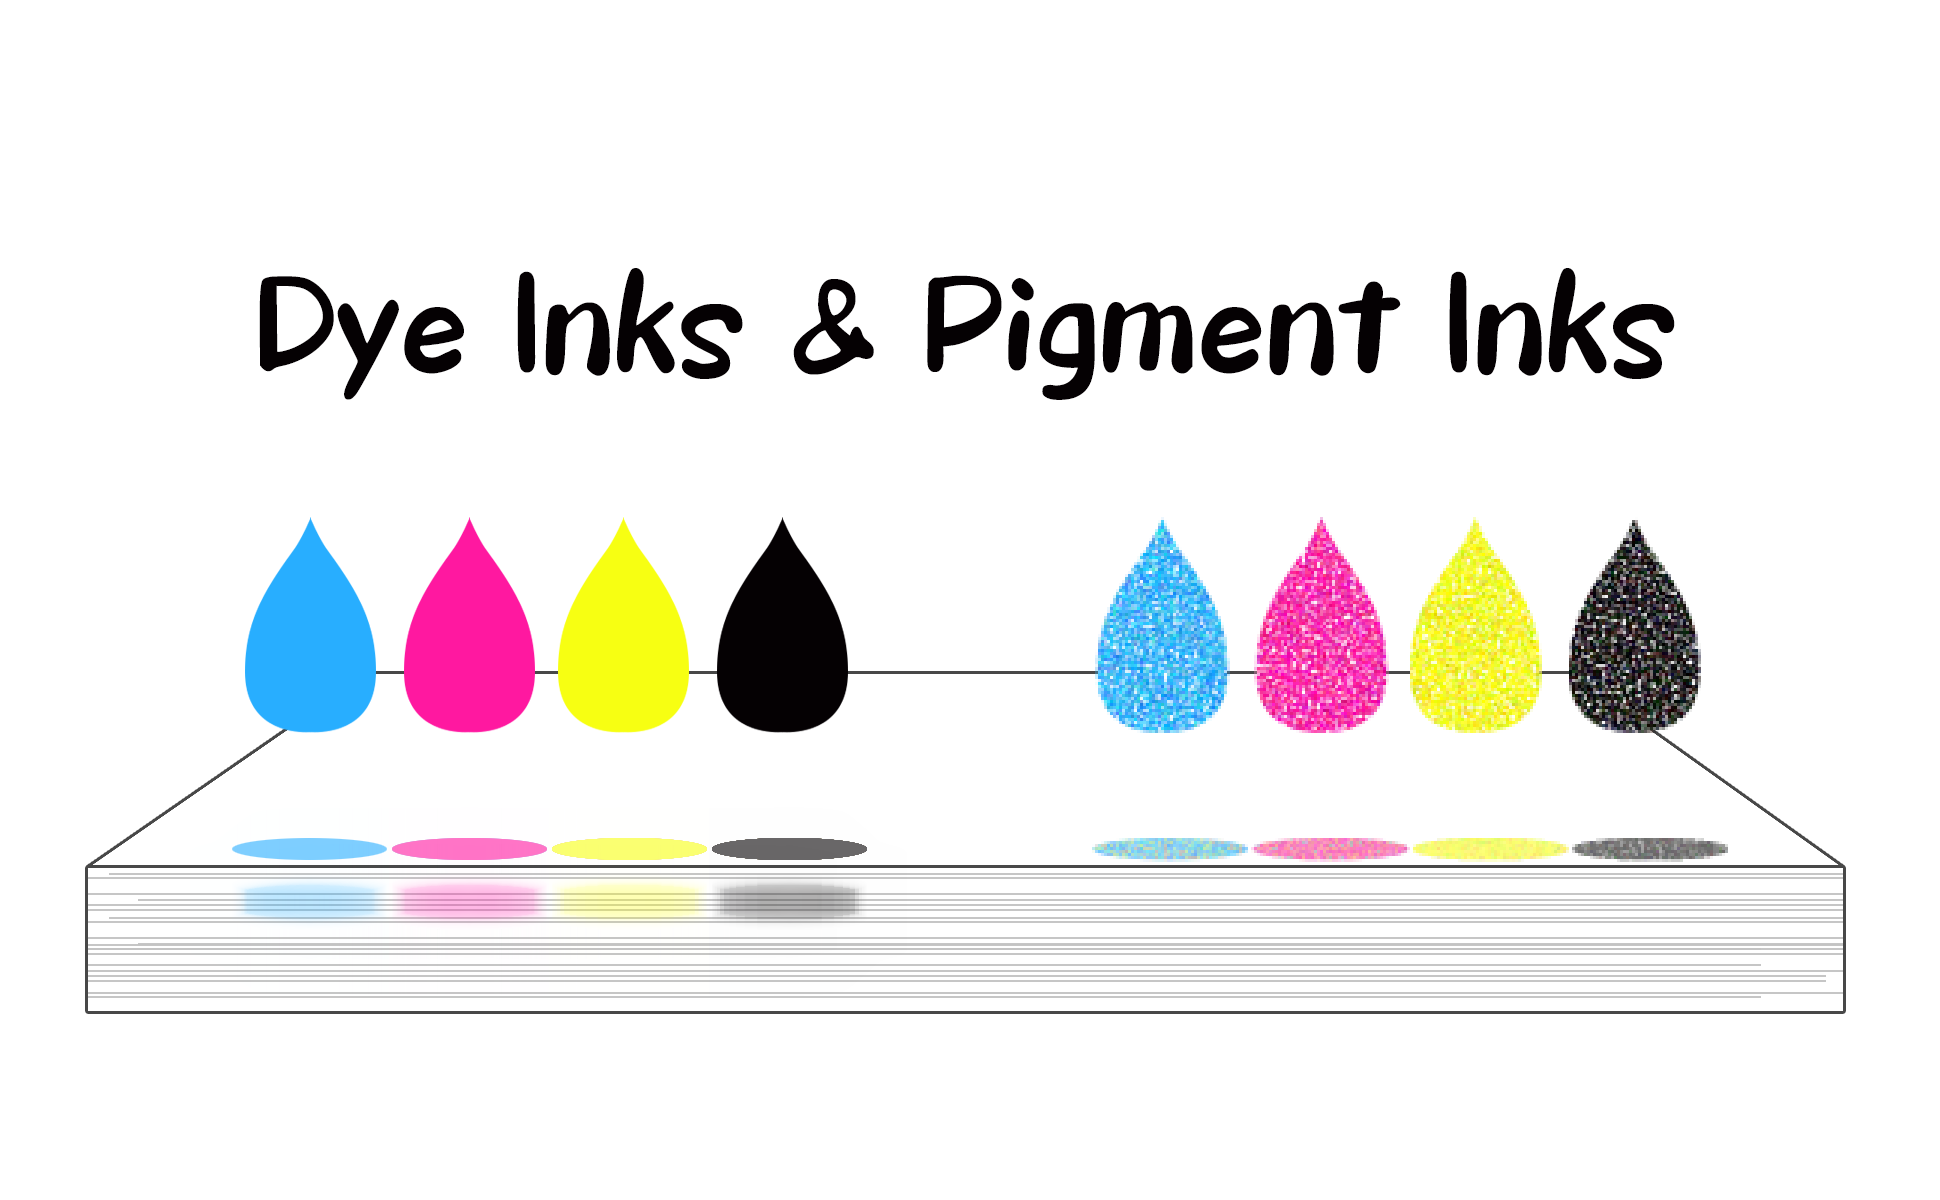
Choosing the Right Ink: A Comprehensive Comparison of Dye and Pigment Inks
Dye Ink and Pigment Ink are two commonly used types of ink, with main differences in their composition and performance.

Composition:
Dye Ink: Made from dyes dissolved in liquid. The color of this ink comes from dye particles completely dissolved in water or other solvents.
Pigment Ink: Consists of microscopic pigment particles suspended in a liquid. These particles are not dissolved but are suspended.
Color Vividness:
Dye Ink usually provides brighter and more vivid colors, as the dye molecules penetrate better into the paper.
Pigment Ink may not be as vivid as Dye Ink, but it performs better in providing deeper tones and blacks.
Water Resistance and Lightfastness:
Dye Ink Though less water-resistant and prone to fading under light, it's perfect for indoor applications where color vividness is prioritized.
Pigment Ink: Better suited for outdoor use and long-term preservation due to its water resistance and lightfastness.
Usage:
Dye Ink, its vibrant colors make it a popular choice for photo printing and color printing, especially when high color vividness and fine detail are required.
Pigment Ink: Preferred for professional printing, art prints, outdoor advertising, and important documents due to its durability.
Cost:
Dye Ink Typically more cost-effective than Pigment Ink, making it a budget-friendly option for everyday printing needs.
Compatibility:
When switching from Dye Ink to Pigment Ink, it is recommended that customers thoroughly clean their printer to avoid mixing the two types of ink, which could lead to reduced print quality or damage to the printer. The choice of ink depends on printing needs and expected print quality. Dye Ink is suitable for prints needing high color vividness, while Pigment Ink is more appropriate for prints requiring durability and long-term preservation.
The choice between Dye Ink and Pigment Ink depends on printing needs and the expected quality of prints. Dye Ink is a better choice for prints requiring high color vividness and delicacy, while Pigment Ink is more suitable for durable and long-term preservation prints.
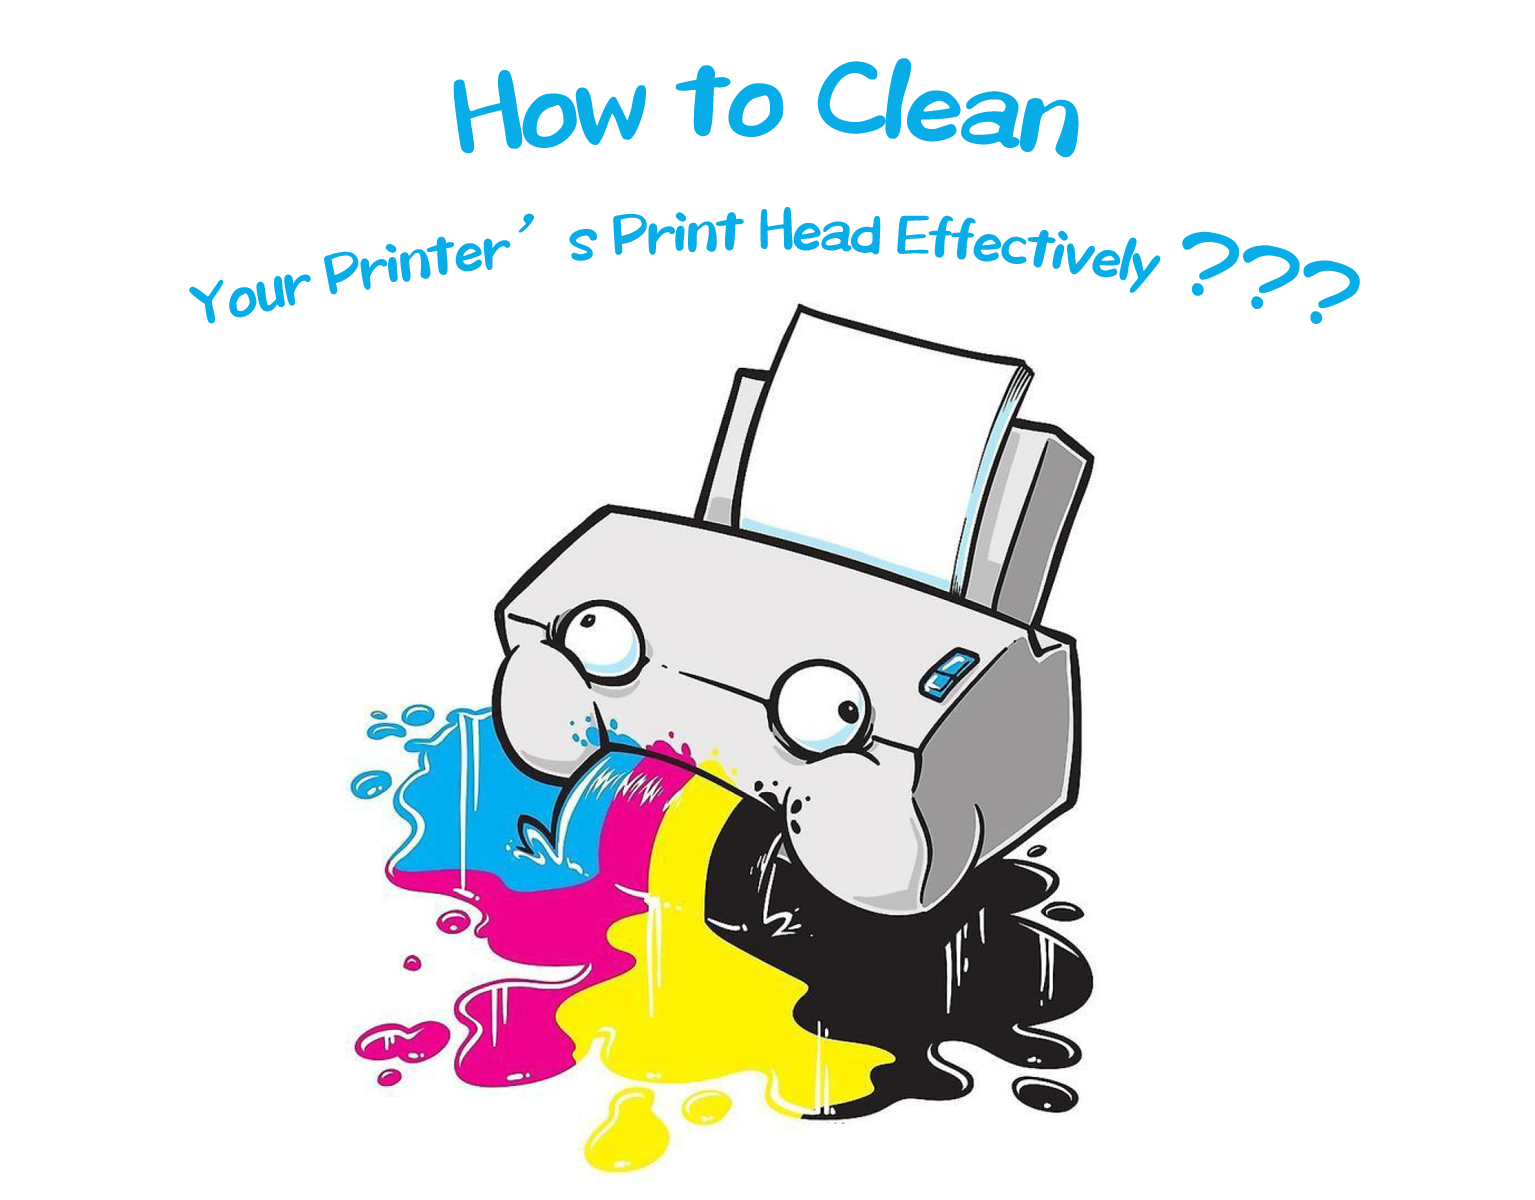
How to Clean Your Printer’s Print Head Effectively: A Practical Guide
In everyday home and office printing needs, maintaining optimal printer performance is crucial. Print head cleaning and maintenance are critical steps to ensure high-quality print output, especially for inkjet printers from brands such as Epson. This article explains when and how to clean your printer's printhead to ensure you continue to get clear, accurate prints.

When do I need to clean the print head?
Decreased print quality: If you notice that your printouts are blurry and have incorrect or missing colors, this could be a sign of a clogged nozzle.
Unusual printouts: If your printer seems to be working, but it's outputting a blank page, or the printout is chipped, black, or has other missing colors, this usually means the printhead needs to be cleaned.
Preparations before cleaning the print head:
Use the nozzle check tool: Before cleaning, use the nozzle check tool that comes with the printer to confirm whether cleaning is really needed. This can save ink.
Make sure you have enough ink: low ink levels may prevent effective cleaning, and when ink is depleted, cleaning may not be possible.
Prepare printing paper: The cleaning process will consume some ink, so please prepare several sheets of A4 plain paper.
How to clean the print head:
method one:
In Windows operating system, open the "Devices and Printers" or "Printers and Faxes" folder. Right-click your printer icon and select "Printing Preferences."

In the Printing Preferences window, click the Maintenance (or Tools) tab.

Click "Clean Printhead" to start the cleaning process, then click "Start" and wait for the first cleaning cycle to complete. During this process, be careful not to turn off the printer.

Method Two:
Access printer settings
On most printers, you can access the setup menu through the printer's display. If your printer does not have a display, you may need to use a computer connected to the printer to perform these steps.
Find cleaning options
In the printer's menu, find the options related to maintenance or cleaning. This is usually under the Settings, Tools or Maintenance menu.
Start cleaning process
Select "Clean Printhead" or a similar option to start the cleaning process. The printer will automatically start cleaning the print head. This process may take several minutes.


Inspection after cleaning:
Print a nozzle check pattern: After cleaning is completed, print a nozzle check pattern to confirm the effectiveness of the cleaning.
Further Action Required: If the nozzles check correctly but you are still having problems with the text, you may need to run the Printhead Alignment Tool. If you still have issues with print quality, you may need to clean it more than once (up to six times is recommended).
If the problem persists:
Turn the printer off for an extended period of time: If there are still problems with the nozzle check pattern, turn off the printer for at least six hours before checking again.
Replace the ink cartridge: If the problem still does not improve, it is recommended to install a new ink cartridge. If only a specific color is affected, simply replace the relevant cartridge.
Replace old ink cartridges: It is recommended to replace ink cartridges that have been opened for more than six months.
If the above steps don't resolve the issue:
If the above steps do not resolve your printing issue, we recommend contacting the printer manufacturer for further assistance. Professional technical support can provide more specific guidance and solutions.
Summarize
Regularly cleaning the printer's print head is an important step to maintain print quality and extend the service life of the printer.
Join our community
Explore Your Creativity With Kamo Creative Studio.
When you're ready, sign up from anywhere in the world. Feel free to contact us if you would like to chat or email us.