DIY TRAVEL MAP
see step-by-step video tutorialsMaterials to Buy
Choose Cartridges by Brand


How to DIY Your Own Stickers
Schritt 1: Designen und Drucken

Erstellen Sie Ihre gewünschten Designs am Computer. Nutzen Sie Plattformen wie Canva, Crello oder Adobe Spark, um Ihre Karten und Reisebilder zu gestalten. Drucken Sie die Karte auf das Ölmalpapier und die Reisebilder auf das Klebepapier.
Schritt 2: Ausschneiden und Aufkleben

Schneiden Sie die gedruckten Designs aus. Markieren Sie die Reisebilder und kleben Sie sie mit Pfeilen oder Flaggen auf die entsprechenden Orte der Karte. Bringen Sie alle Elemente auf der Acrylplatte an.
Schritt 3: Fertigstellen

Ihr personalisiertes Reise-Souvenir ist nun bereit, aufgehängt oder aufgestellt zu werden!
What To Expect From The
Kamo Creative Studio
Lerne durch Schritt-für-Schritt-Anleitungsvideos, ein DIY-Projekt selbstständig zu meistern.
Erhalte hochwertige DIY-Werkzeuge und Materialien von Kamo.
Lasse dich während des DIY-Prozesses inspirieren, kultiviere deine künstlerischen Fähigkeiten, stärke dein Gefühl der Erfüllung und vertiefe menschliche Bindungen.
Tritt unserem Kreativstudio bei und teile die Freude an der Kunst mit anderen.
Blog Posts

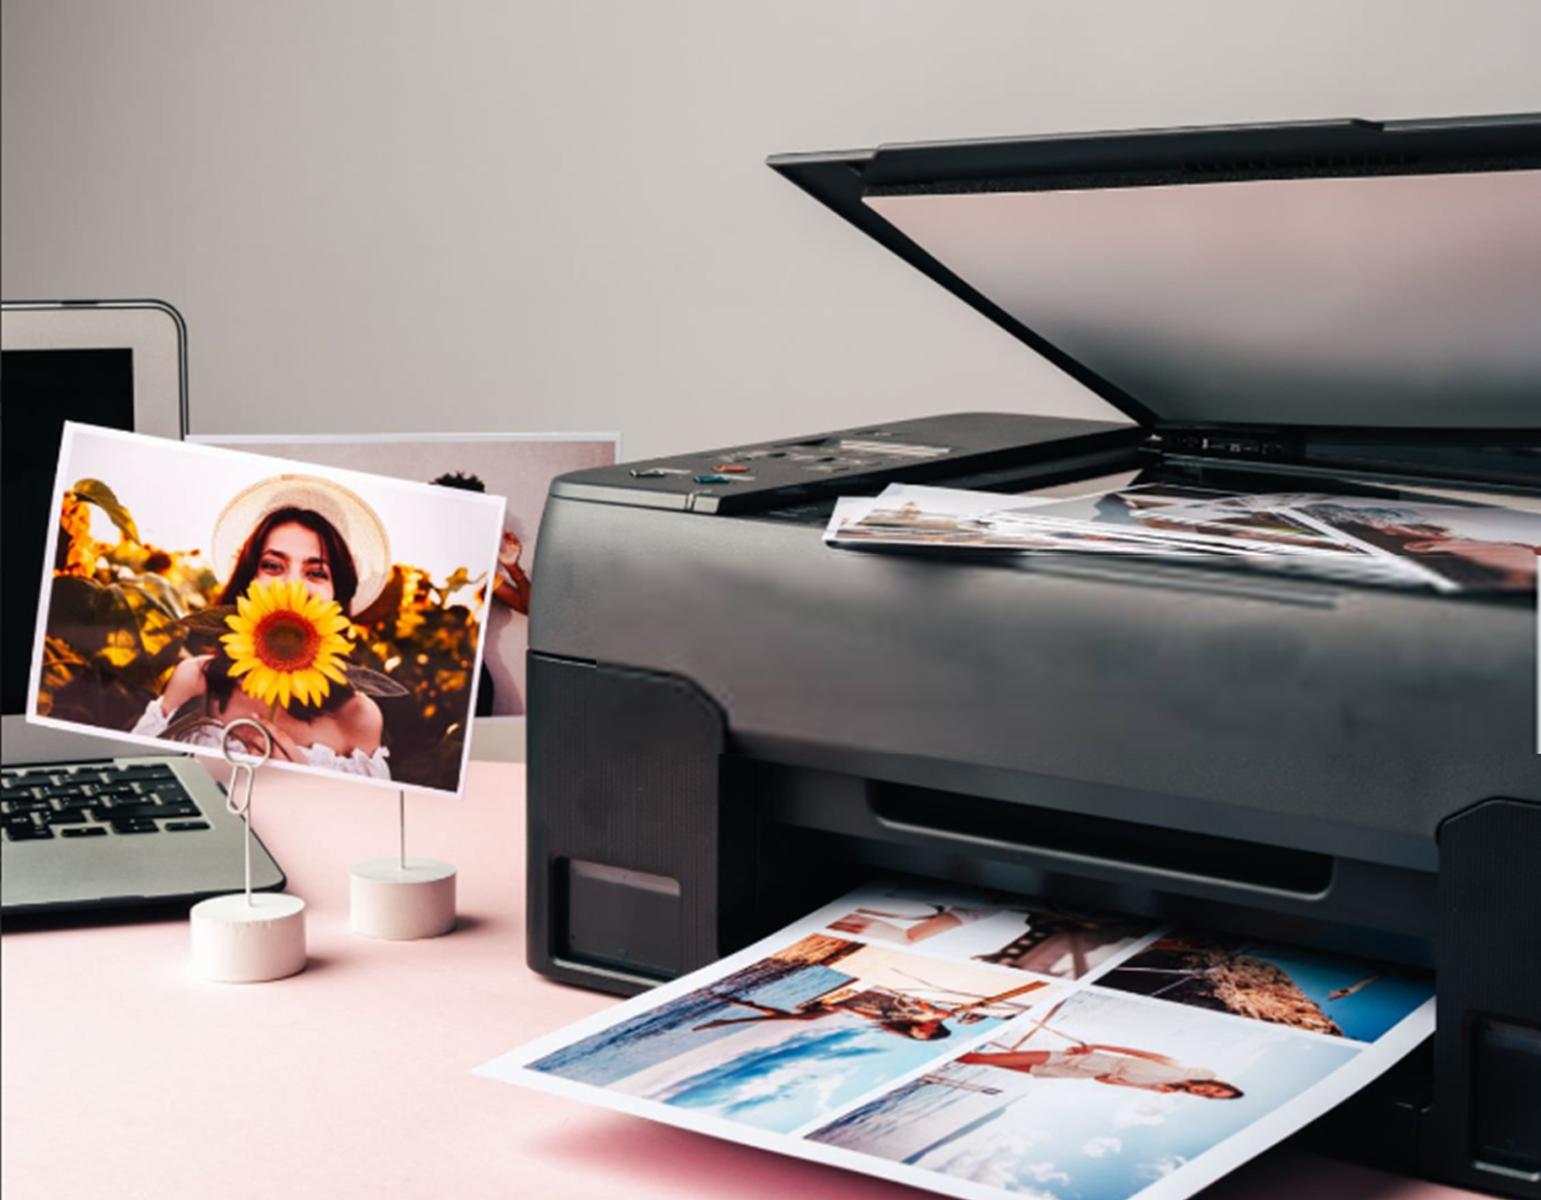
How to print high quality photos

Printing high-quality photos involves several key steps and considerations to ensure the best possible outcome. Here's a guide to help you achieve high-quality photo prints:
Use a High-Resolution Image: Ensure your photo has a high resolution. A resolution of 300 dots per inch (DPI) is ideal for printing. The higher the resolution, the sharper and clearer the print will be.
Correct Photo Editing: Edit your photo for color correction, brightness, contrast, and other enhancements. Be careful not to over-edit, as this can lead to a loss in quality.
Select the Right Printer: Use a high-quality printer designed for photo printing. Inkjet printers are generally preferred for high-quality photo prints.
Choose the Right Paper: Select high-quality photo paper that is compatible with your printer. Glossy, semi-gloss, and matte are common finishes, each providing a different look and feel.
Use High-Quality Ink: If you're printing at home, ensure you use high-quality ink that is compatible with your printer. The quality of the ink greatly affects the final output.
Print Settings: Adjust your printer settings for the highest quality. This usually means selecting the 'photo' or 'best quality' option in the printer preferences.
Calibrate Your Monitor and Printer: For the most accurate color reproduction, calibrate your monitor and printer. This ensures that the colors you see on the screen will match the print.
Consider Professional Printing Services: For the best results, especially for large prints or important photos, consider using a professional printing service. They have high-end printers and expertise in photo printing.
Handle and Store Properly: Handle the printed photos with care, especially if they are still drying. Store them in a photo album or frame them behind glass to protect them from dust, fingerprints, and light damage.
Regular Maintenance: If you are using your own printer, regular maintenance is key. Clean the print heads and align the printer regularly to ensure consistent quality.
Remember, the overall quality of a printed photo depends on the weakest link in the printing process. So, paying attention to each step is crucial for the best outcome.

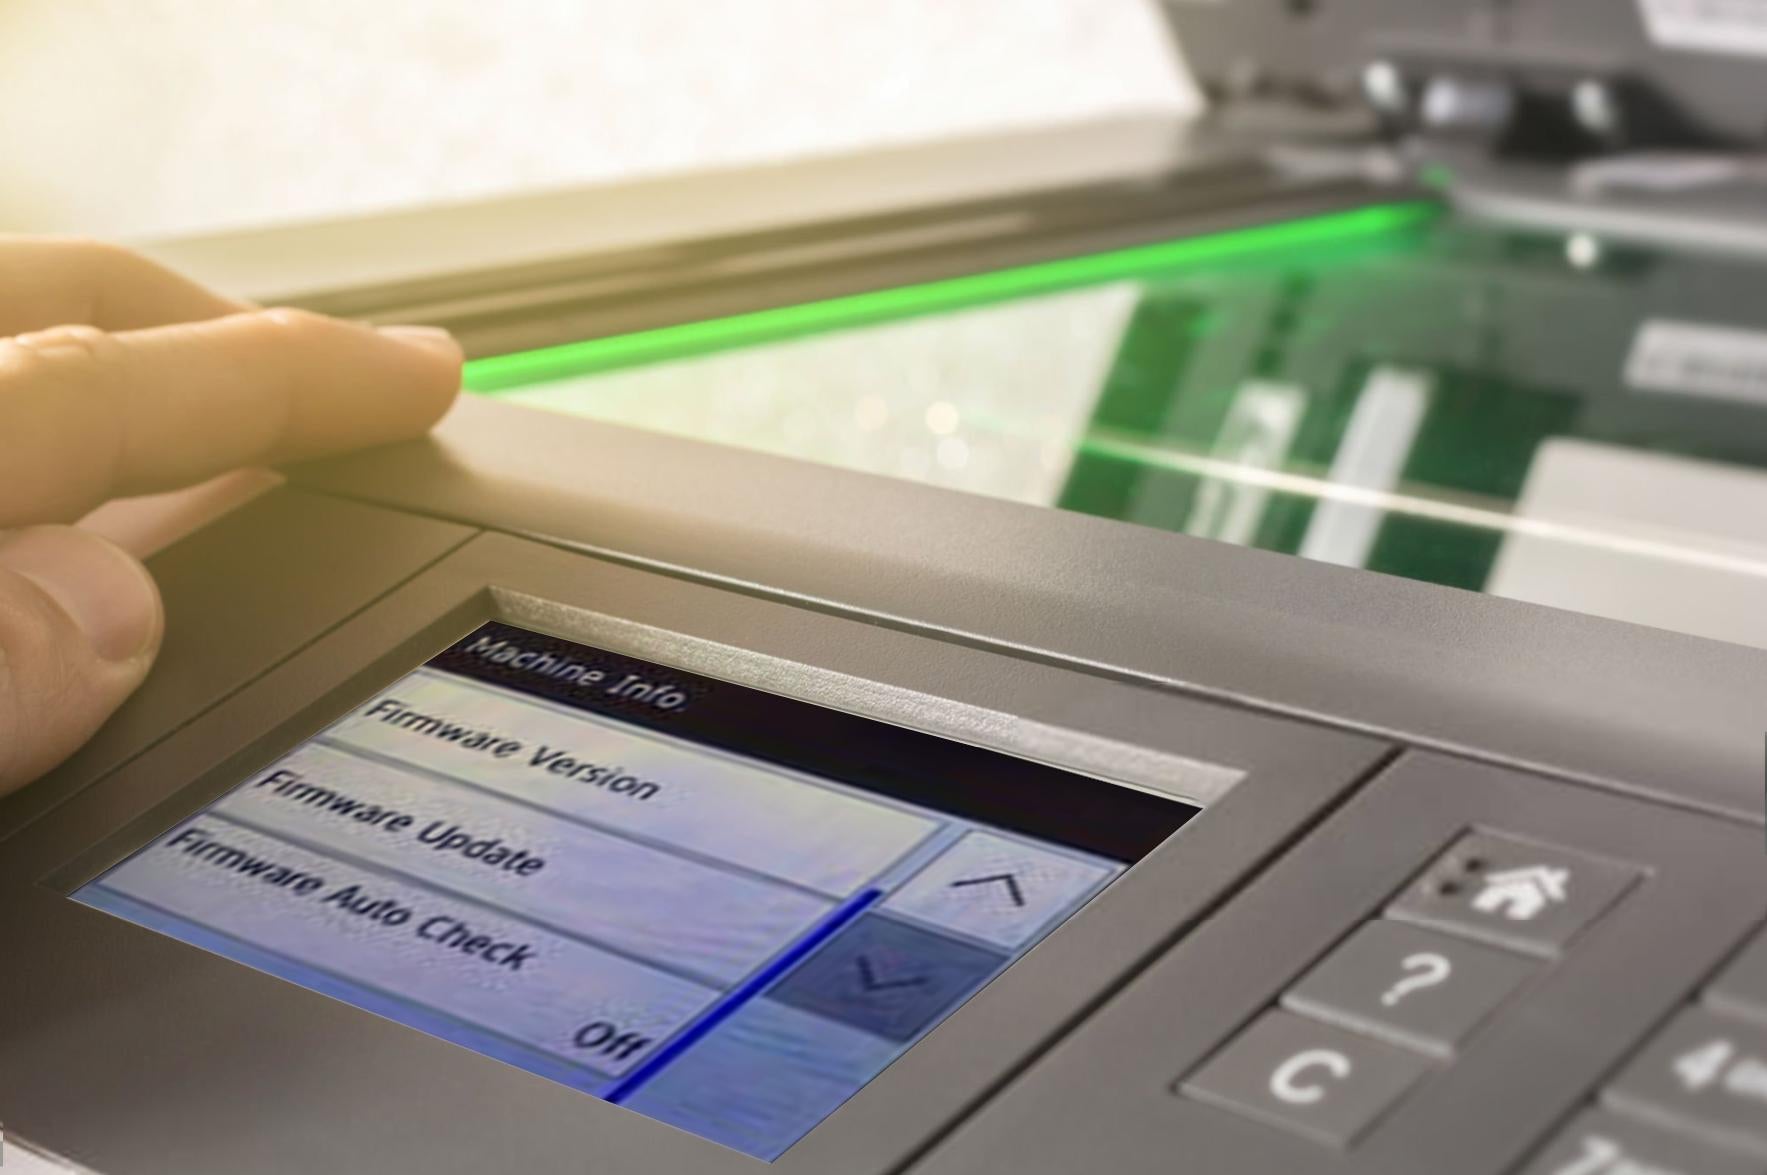
What is a Printer Firmware Update and How Do You Deal With It?
Introduction
If you are reading this article, you are probably confused about HP printer firmware updates. As a printer owner, you're probably aware of firmware updates and the consequences they can have (especially if you use compatible ink cartridges). This article will try to help you solve the problem. So off we go!

What is a Printer Firmware Update
Firmware updates are software related to printer functionality. The printer industry regularly releases new versions of printer firmware to fix bugs, enhance functionality, or update applications. However, most HP printer firmware updates do not bring substantial improvements to the functionality of the printer. But printer manufacturers are keen to release new firmware versions every once in a while. Why? One of the most important reasons is that printer firmware updates block non-HP ink cartridges, forcing users to buy expensive original HP ink cartridges. Error messages such as "Non-HP chip detected" and "Provisioning memory error" are caused by printer firmware updates. But the good news is that Kamo's cartridge chips for these models are now compatible with the latest firmware version.
How does a firmware update stop compatible cartridges
Your printer and ink cartridges need to communicate with each other to be recognized and print properly. When a printer manufacturer pushes out a firmware update that doesn't match a specific set of compatible cartridges, the line of communication is lost. The new printer firmware cannot communicate with the cartridges and the printer stops working. When this happens, most consumers will see a "Cartridge Problem" message on their display, which means their printer has stopped recognizing compatible cartridges.
How to prevent firmware updates from blocking compatible cartridges
So should we update our printer firmware? Our advice is NO! This blog will teach you how to turn off HP printer firmware update step by step.
- By quickly changing printer settings, you can print with compatible ink cartridges at any time. This is the best way to prevent a firmware update from stopping your printer, and this works for almost all popular printer brands! All you have to do is turn off automatic printer updates. This will help your printer run smoothly with any compatible ink cartridge.
- Purchase compatible cartridges with the latest chip version. At Kamo, we strictly focus on new printer firmware updates to provide you with the latest version of the chip.Any Kamo customers affected by the update will be sent free new cartridges as they become available.

How to Fix Dry Ink Cartridge
Introduction
Nothing is more frustrating than printer problems. Dealing with printer problems can be a major hassle, especially in any busy work environment. One common issue arises when your printer lies unused for extended periods, causing the ink in the ink cartridges to dry out, leading to speckled, faded, and streaky prints. Before you consider discarding that dry cartridge, let's explore some effective ways to fix it.

Why do ink cartridges dry out?
Several factors can lead to your ink cartridges drying out, hampering your printing process:
- Infrequent or irregular printing: Using your printer too infrequently is one of the main causes of dry ink cartridges. If your printer is left idle for a period of time, the ink in the ink cartridges may dry out and clog the nozzles.
- Poor storage conditions: If stored under improper storage conditions, the ink may dry out if the storage area is too hot or too cold. Unused ink cartridges need to be stored in a cool, dry place away from direct sunlight to prevent them from drying out. Additionally, when cartridges are stored in an upright position, ink begins to settle on the top area of the cartridge, ultimately causing streaky and unclear prints.
- Ink Cartridge Expiration: Ink cartridges have a shelf life. Post-expiration, they are more likely to dry out. Replace your cartridges every 2 to 3 years, and consider new ones if they've been unused for over 12 months.
- Manually refill the cartridges: The refilling process needs to be done correctly as it can allow air to enter the cartridges. This will only dry out the ink and clog the nozzle tip.
How to fix a dry ink cartridge
When the ink cartridge has a built-in print head
- Remove the dry ink cartridges from the printer: Open the top cover of the printer, and then carefully remove the dry ink cartridges inside. Be sure to carefully place your hands on the sides of the cartridge to avoid contact with the nozzle.
- Shake it gently: Shaking it gently may remove some clogs that occur in the cartridge and help the ink disperse properly. This may work if the ink has just dried.
- Soak in warm water: If you find that the cartridge is still clogged or not working properly, you can try a water bath. Pour a small amount of warm, distilled or filtered water into a shallow dish. Soak the ink cartridge with the nozzle facing down in water. Be careful not to immerse the ink cartridge completely. Just soak half of it (the nozzle side of the cartridge) in warm water and wait 5-10 minutes, or until you notice ink starting to leak from the cartridge into the water. This will indicate that the ink has drained out normally and the blockage has been resolved, please remove the cartridge from the water.
- pat dry: Place the cartridge back on the table, nozzle side up. Clean the ink cartridge thoroughly with paper towels until it is completely dry. Remember: Do not put wet ink cartridges into the printer, as this may damage the printer.
- Check: Take a piece of paper and rub the ink nozzles on it to make sure the cartridge is fully functioning. If ink lines appear, it's fixed!
- Put it back in the printer: After the ink cartridge is clean and dry, put it back in the printer. Do some test prints to check if the printer prints properly.
- If necessary, repeat the process: Do a test print to see if it effectively repairs the dry ink cartridge. If there are some inconsistencies or errors in the printing, you may need to repeat these steps again. A dry nozzle may not clean completely the first time. So, if necessary, repeat these steps once or twice to see if you get better results.
When the ink cartridge does not have a built-in print head
Run the printer's automatic printhead cleaning feature to release dried ink. Run this function about 3 to 4 times. You can find the exact steps to do this in your specific printer's instruction manual.
If you've tried all of the methods listed above and your ink cartridges still aren't printing properly, it may be time to replace them. Especially if the ink has expired or the ink has dried for too long, your only option may be to replace the cartridge entirely.

6 Common Problems and Solutions with Compatible Toner Cartridges
In the modern office environment, printers are indispensable equipment. To save costs, many businesses and individuals opt for compatible toner cartridges. While these are cost-effective, they may come with challenges. This article discusses common issues with compatible toner cartridges and provides solutions, recommending reliable options where appropriate.

Frequently Asked Questions and Solutions
- Print Quality Issues
The most common issue when using compatible toner cartridges is a decline in print quality, manifesting as blurring, banding, or uneven colors. Keeping the print head clean and making appropriate adjustments in the print settings are essential steps to address this problem. For more detailed instructions, see Printer Maintenance Best Practices. Ensure the toner cartridge is of good quality and not damaged or expired.
- Toner Cartridge Identification Problem
Some printers may not recognize non-genuine toner cartridges. Resetting the printer or updating the printer's driver can often solve this issue. The Printer Manufacturer's Support Page offers comprehensive guidance on updating drivers.
- Toner Cartridge Life
Generally, compatible toner cartridges have a shorter lifespan than original cartridges. Regular use and proper storage can extend their life. The Toner Cartridge Storage Guide provides useful tips.
- Clogs and Leaks
Choosing higher-quality compatible toner cartridges can reduce the occurrence of toner leaks or nozzle clogging. Research different brands and select those with positive reviews and recommendations, as found in Toner Market Analysis Reports.
- Software and Driver Compatibility
Regular updates of your printer’s drivers and software are crucial for compatibility. For the latest updates, visit Printer Software Updates.
- Warranty Issues
Understand the terms of your printer’s warranty before using compatible toner cartridges. For more information on how third-party cartridges impact warranties, read Printer Warranty Policies.
Conclusion
Using compatible toner cartridges can be challenging, but choosing high-quality products and following proper maintenance guidelines can lead to satisfactory printing results and cost savings.
Join our community
Explore Your Creativity With Kamo Creative Studio.
When you're ready, sign up from anywhere in the world. Feel free to contact us if you would like to chat or email us.


